A Beginner’s Account of Window Restoration
It only took a whole year, but I can finally say that I’ve successfully completed my first ever window restoration! Prior to embarking on this project I knew little to nothing about windows and restoration. And I had absolutely no clue what glazing was. My family home had weighted windows during my childhood but that was my only interaction with windows similar to these. Needless to say, Google was my best friend throughout this entire process. If you are also like me and own an old home with windows in need of love, you absolutely have what it takes to do your own window restoration. I’m going to share my many learnings along the way and go through the entire process from start to finish.
The Whole Shebang
There were so many steps in completing this, hence why it took me a whole year to do (also perfectionism and fear of making a mistake came into play – but we’ll ignore that). I’ll break this up into each step I completed along the way. If you’re also attempting your first window restoration, looking for tips or simply just following our journey, first, thanks for being here. I hope you’re able to take something away from all of this knowledge I now have stored in my brain. Here are the steps:
Lead Paint Removal
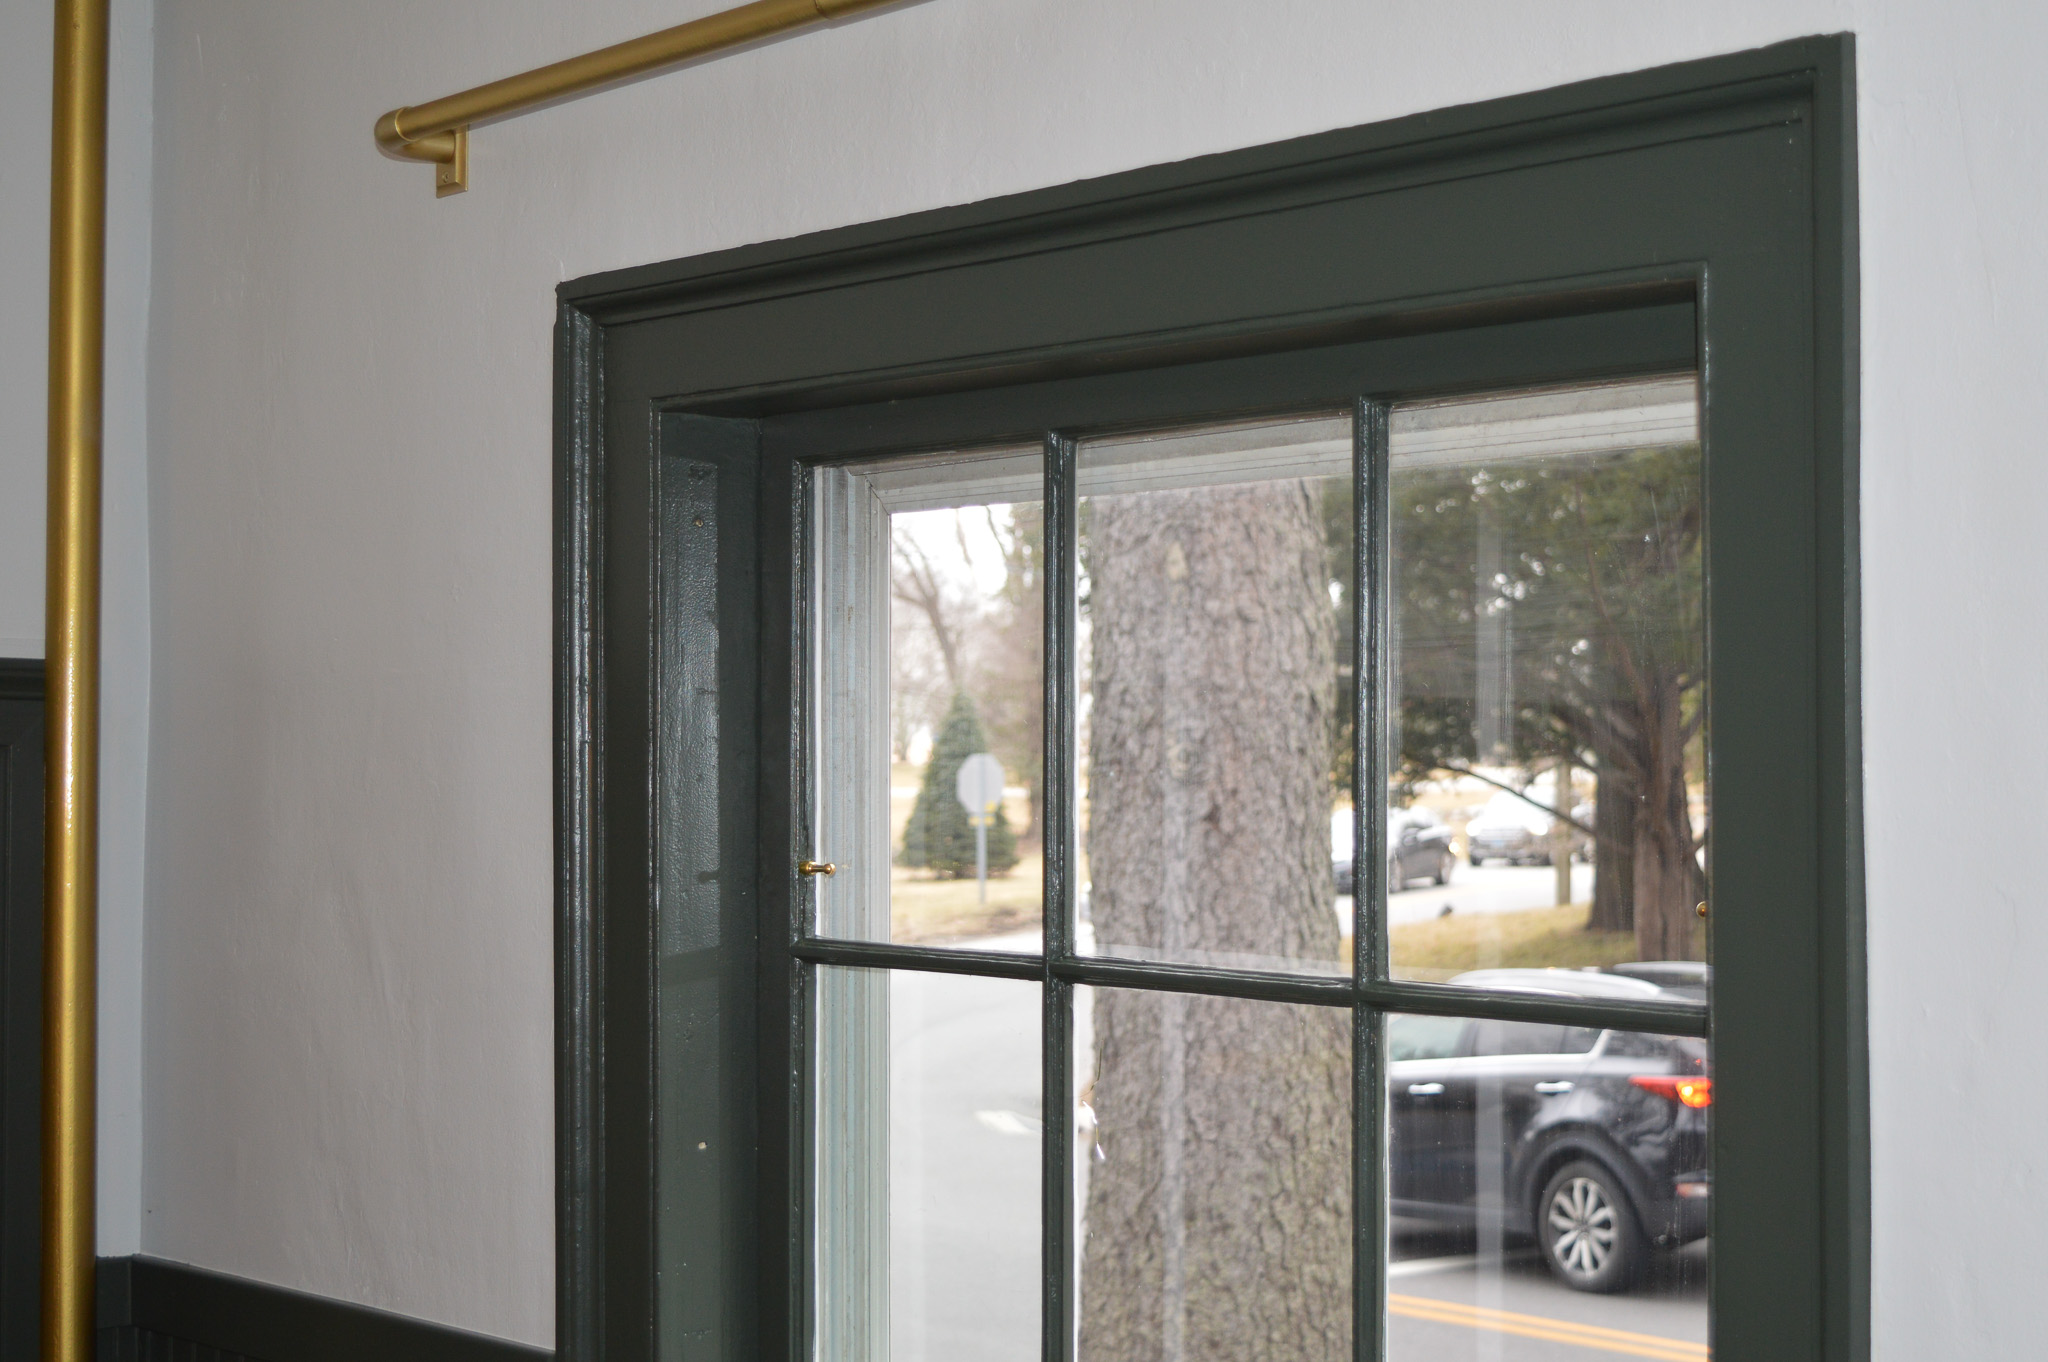
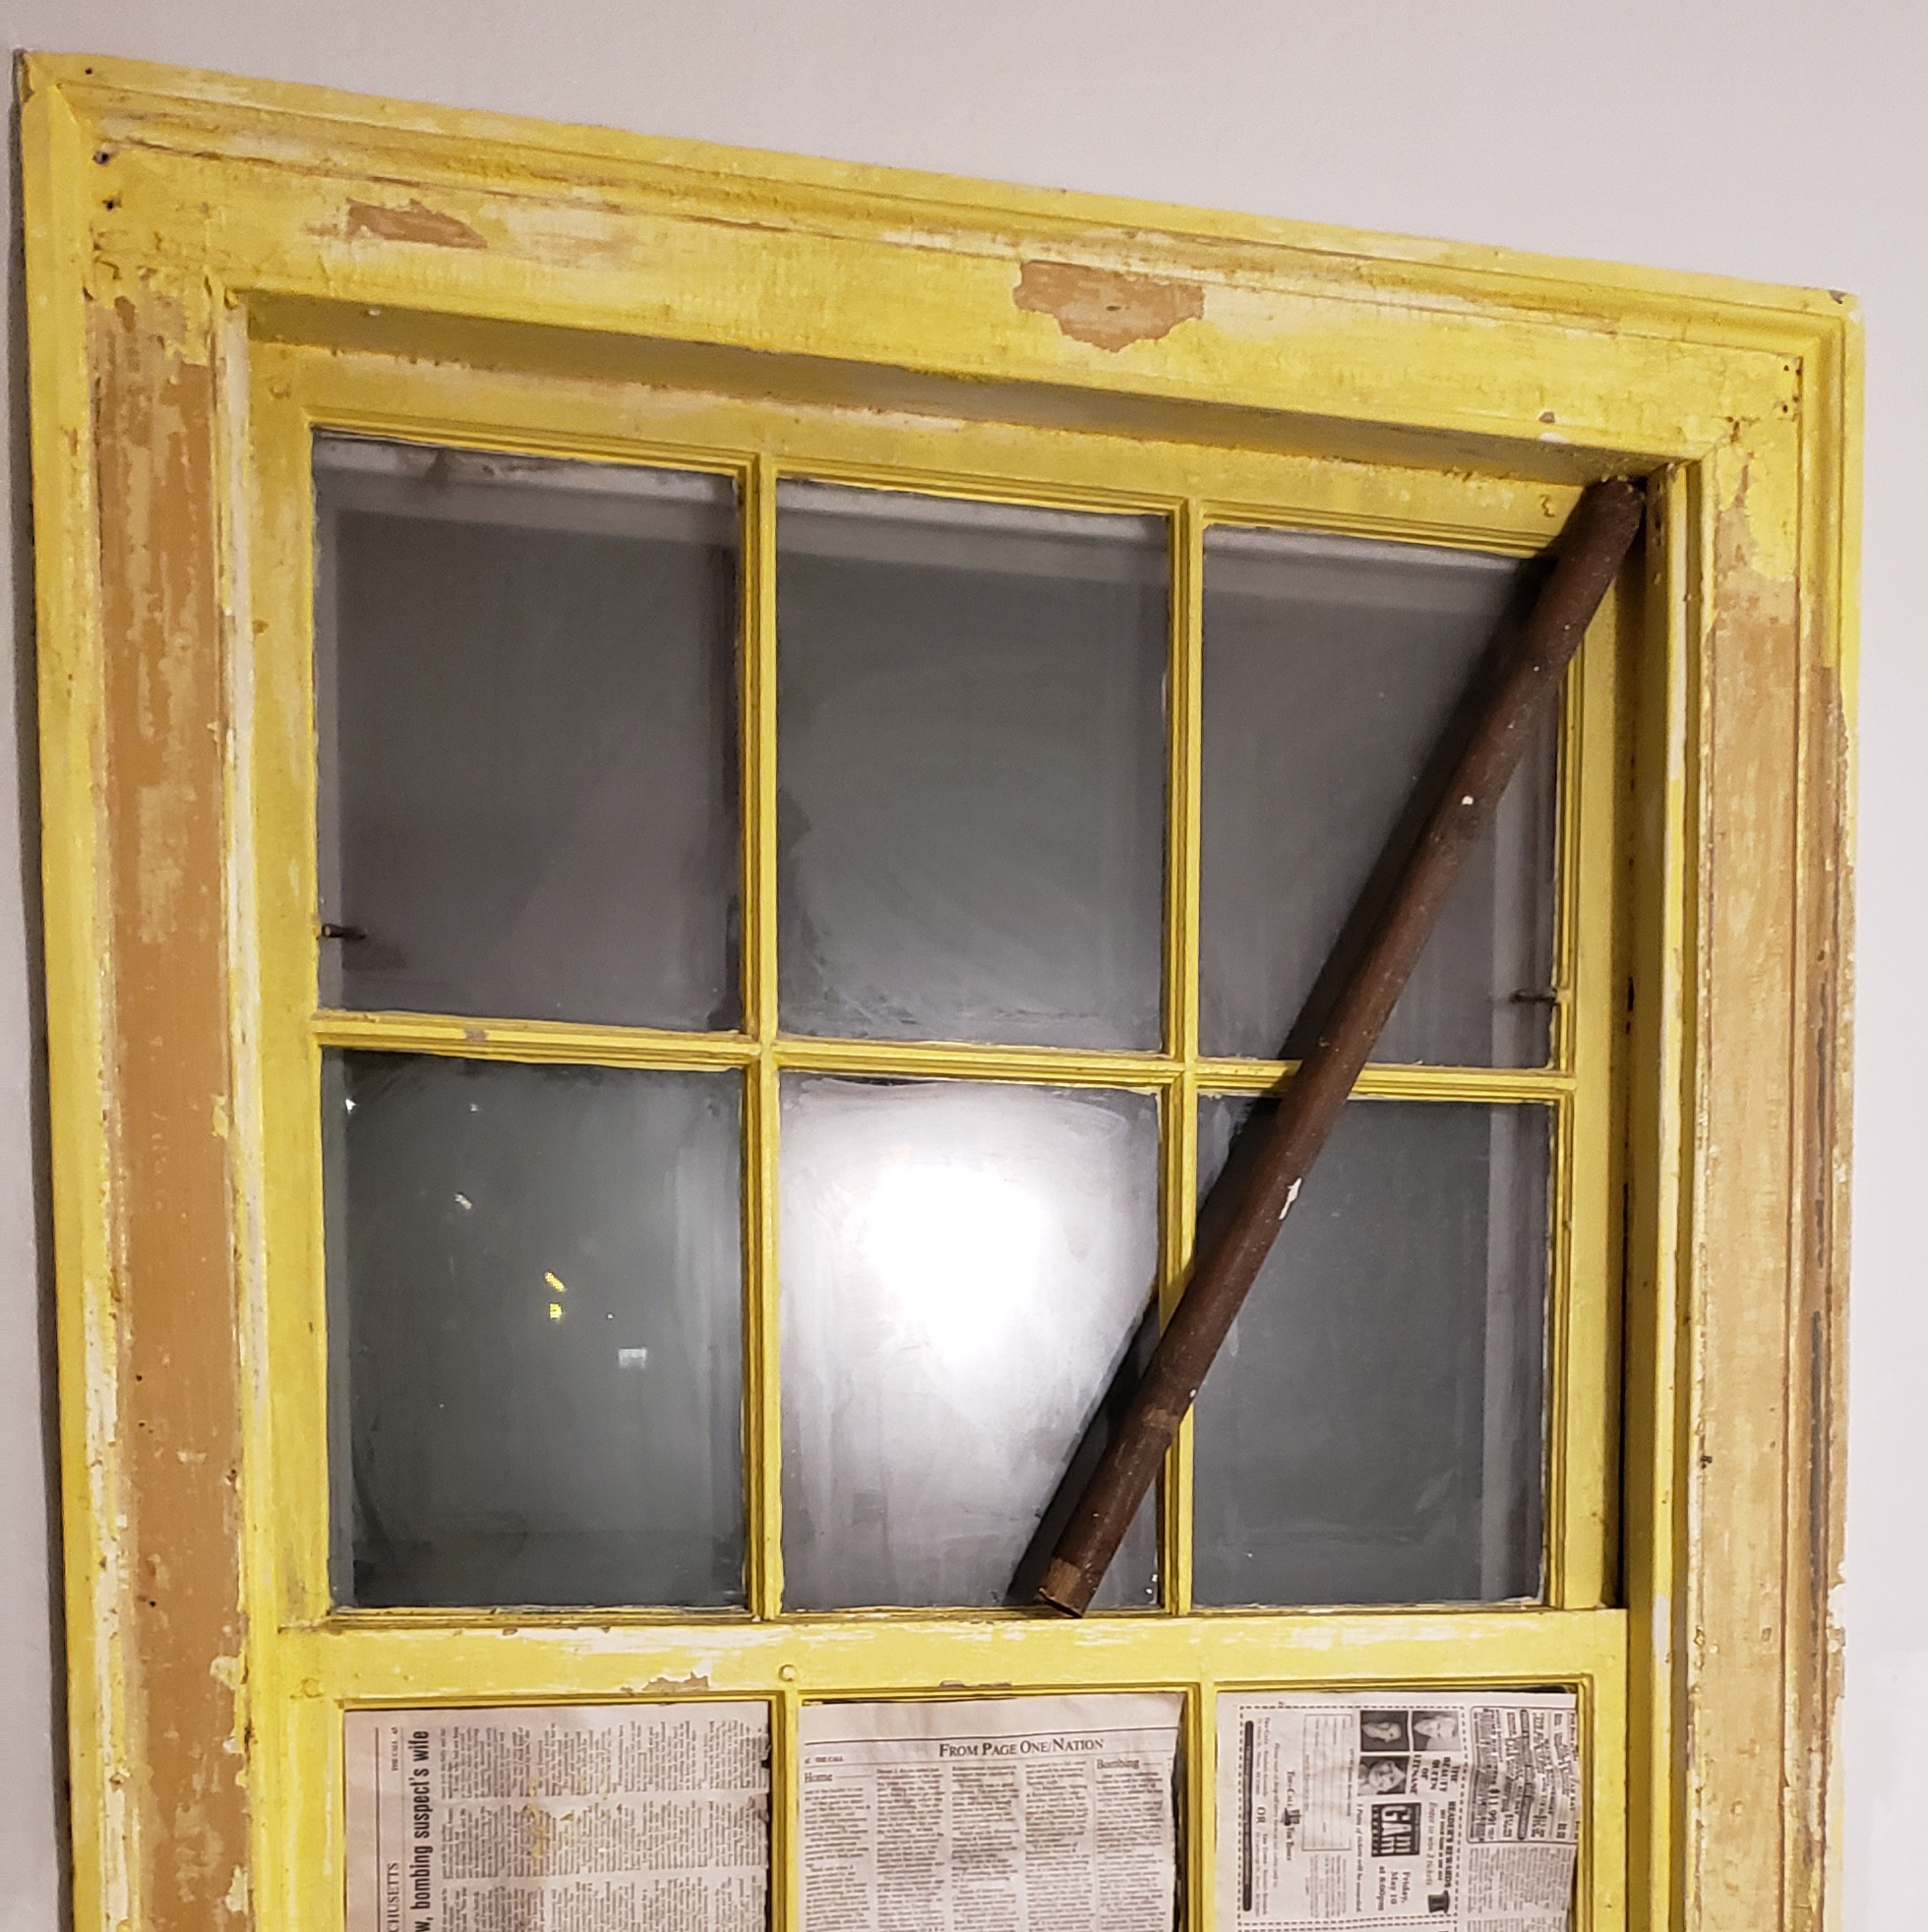
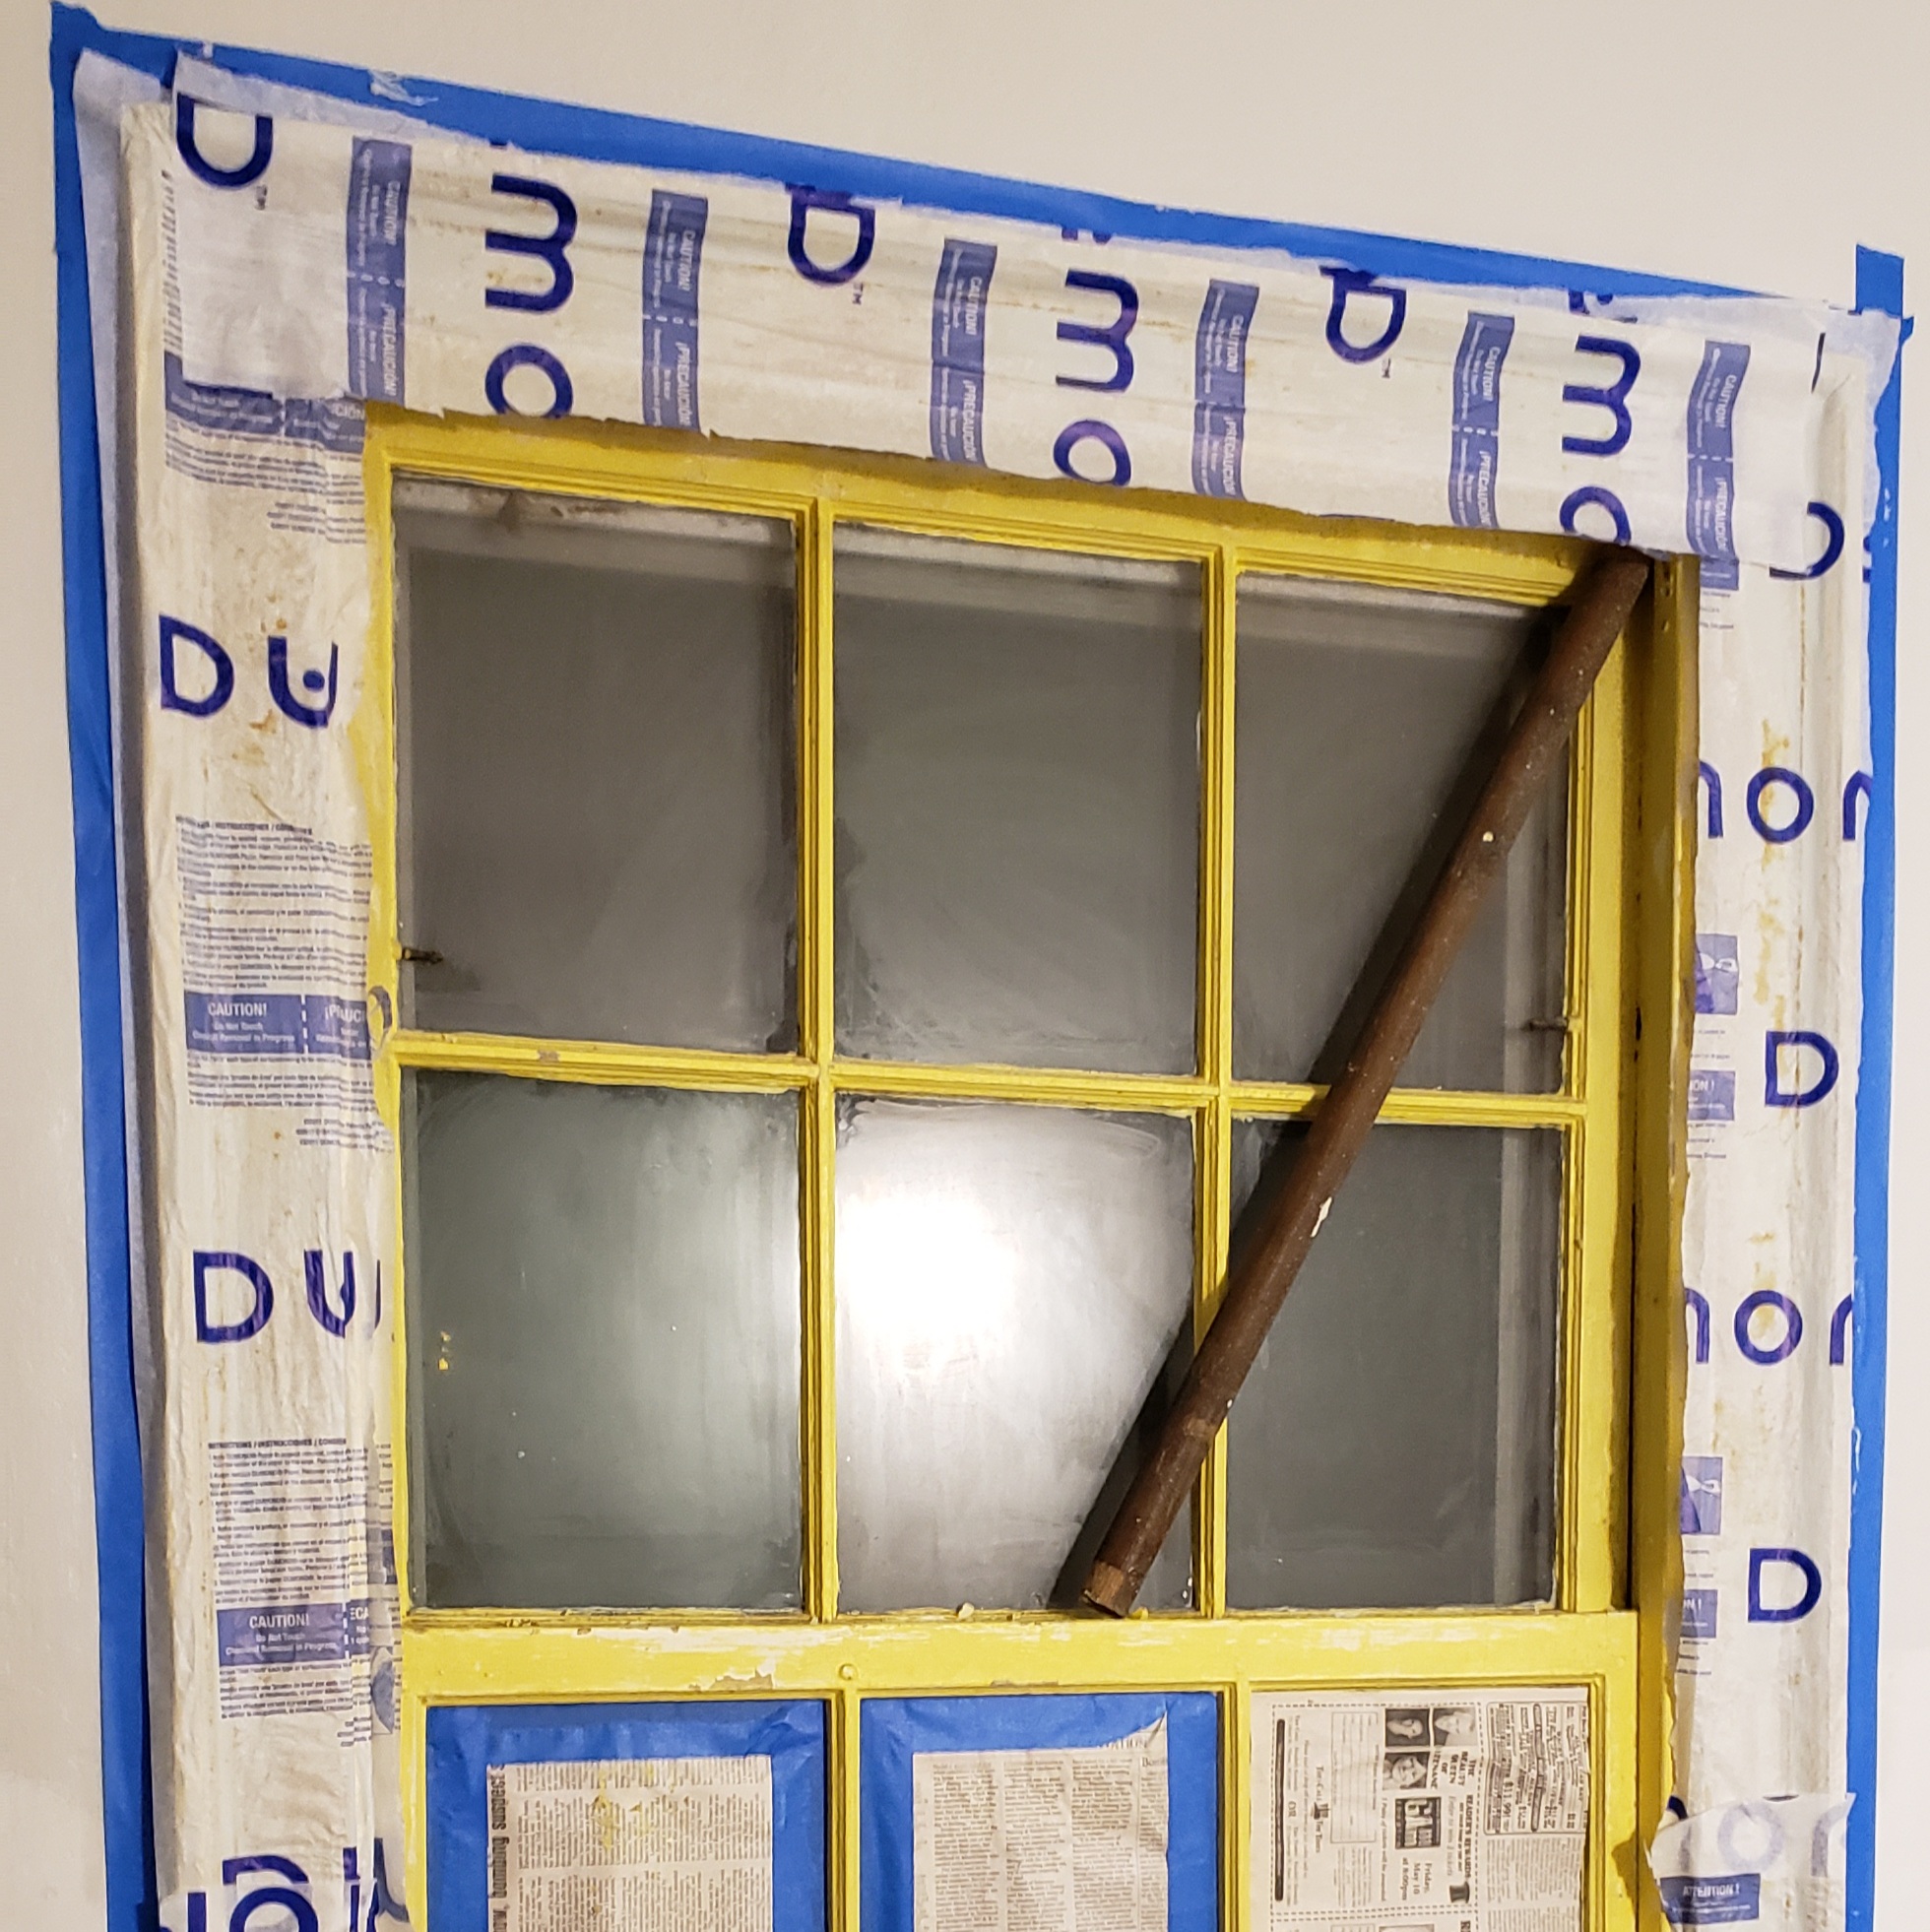
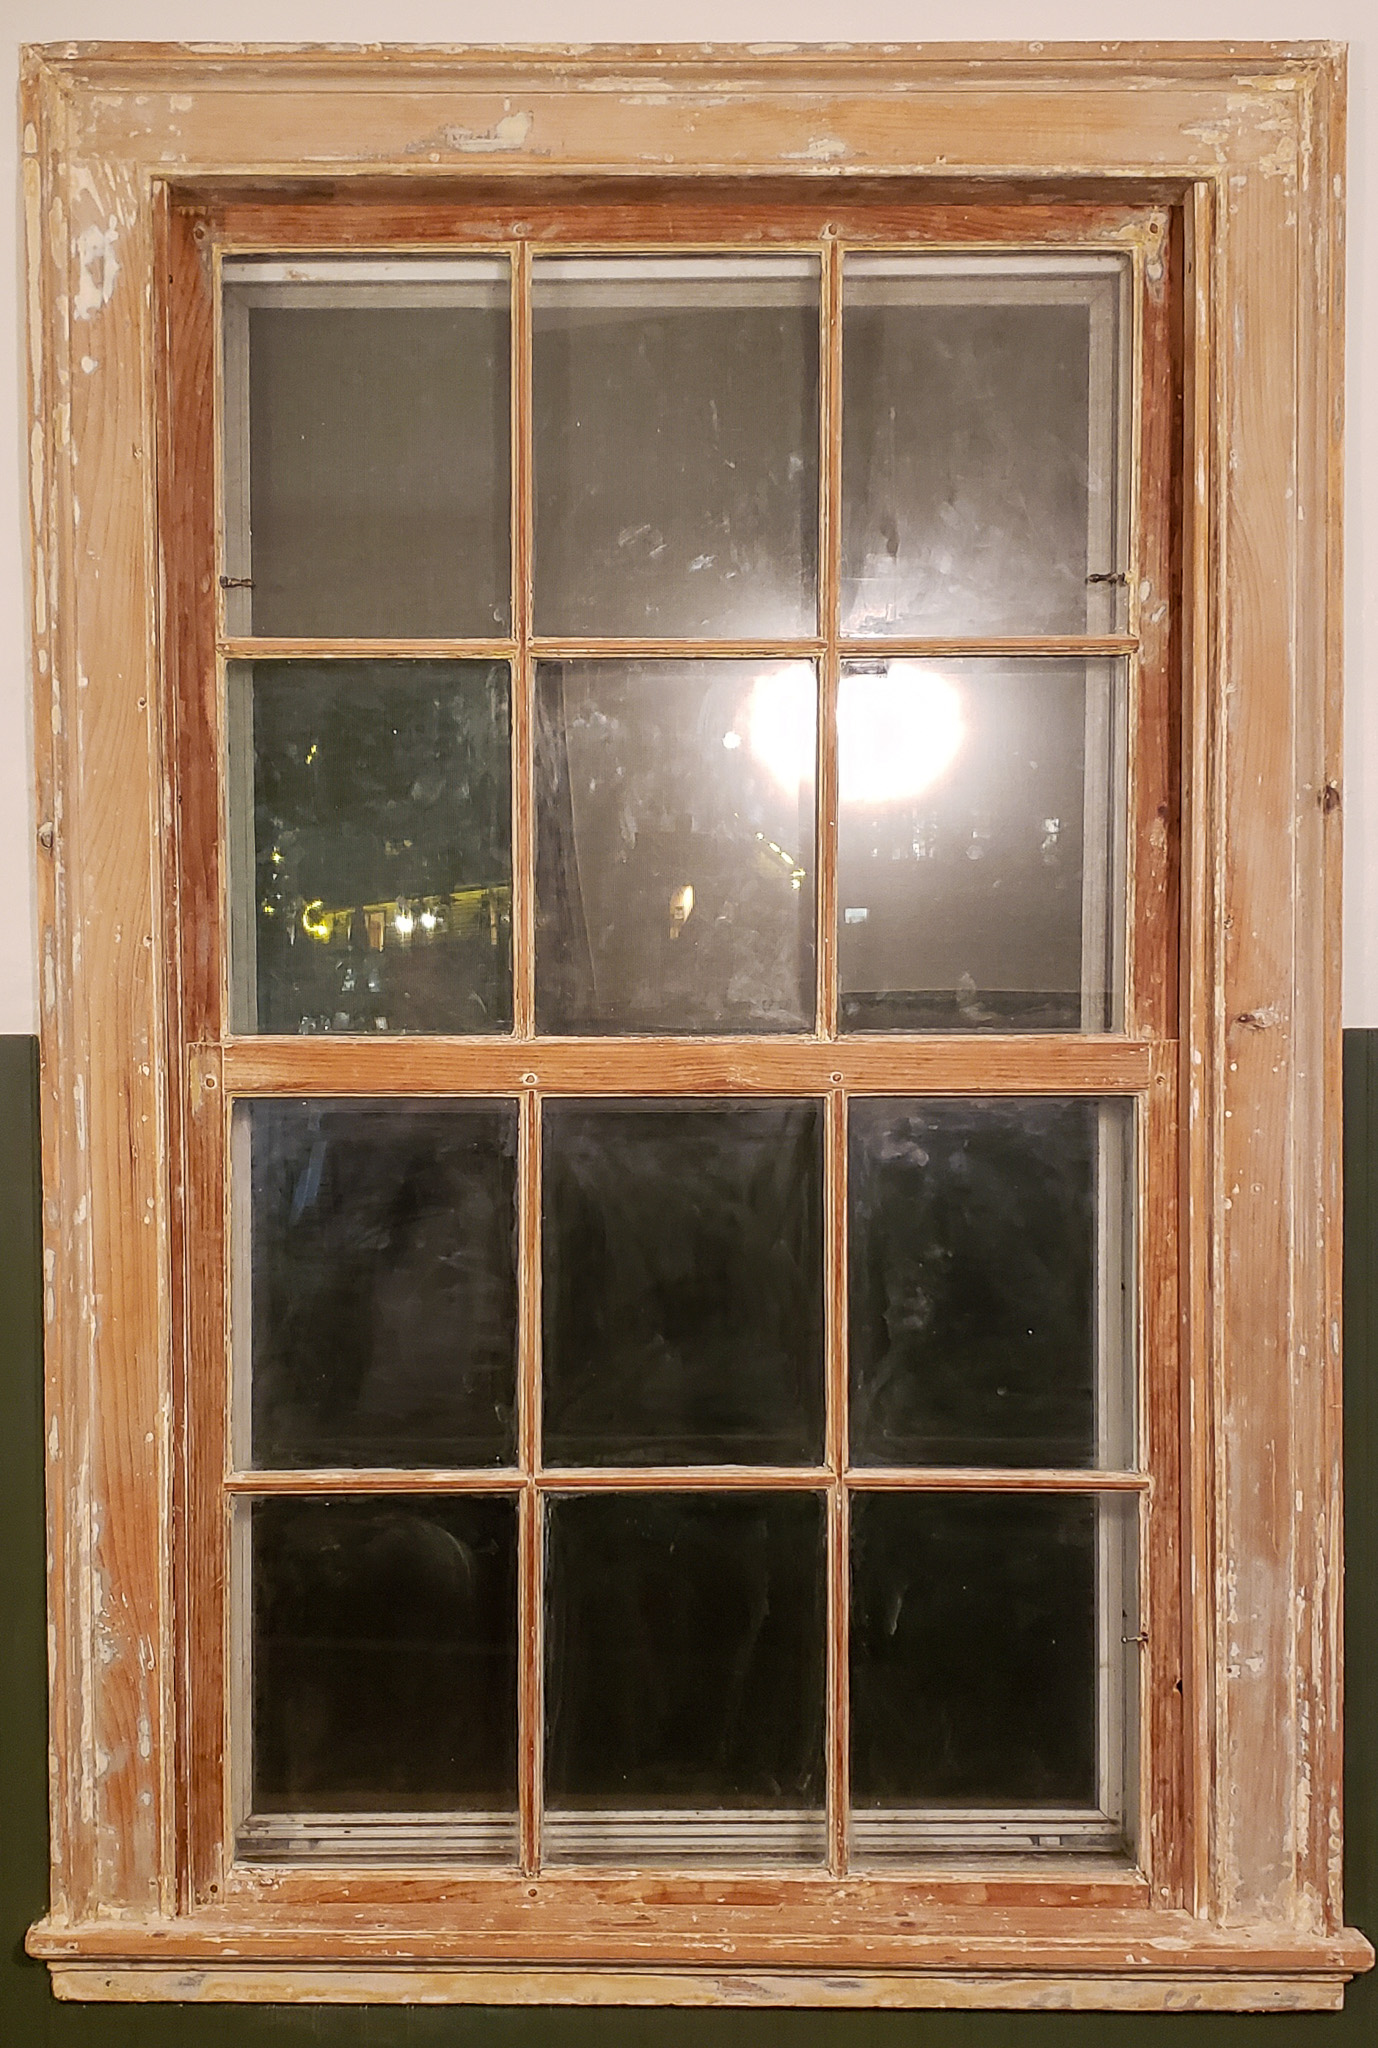
The first thing I tackled with this window restoration was removing the layers and layers of lead paint on the window sashes and window casing. It was painted yellow, it was caked on, and you could barely see the detail in the woodwork. I had been watching a ton of videos on YouTube and Instagram about paint removal and came across Smart Strip.
I should mention that this project was literally started right when we bought the house, so, everything was so new to me. The first thing I embarked on was paint removal on all the doors in the house. We were planning on refinishing the hardwoods so all doors were taken off their hinges and I began applying smart strip to every single door. It would work really great on some doors, it would take a bit longer on others, it really just depended on the paint that was applied and the number of layers that were on them.
Peel Away 1
For this window, smart strip was unsuccessful. I didn’t feel like I was getting anywhere so I did more research and the same company that makes Smart Strip also makes other products that are more heavy-duty for situations like what I was dealing with – layers and layers of lead paint. I purchased Peel Away 1 next. This was a higher cost with more “directions” to it, but I was hopeful that it would hold up to its name. It did! It worked super well, and I was able to get the paint off the trim work. The window sashes and muntins were a little more difficult because they had much smaller detail to them.
I ended up applying a second layer to the muntins because I wasn’t able to get it all done on the first try. Because Peel Away is acidic, I was afraid that I was actually damaging the wood because the wood started becoming “hairy”. But, all was not lost.
Takeaways From Using Peel Away 1
After working with Peel Away 1 on this window and on another project I learned some things I would change next time around. Knowing what I know now, this is how I would approach using Peel Away 1:
- Apply it as the directions say, and apply it thick (wear a glove, the paste will burn your hands).
- Place the paper that it comes with, over it. Parchment paper also works if you run out.
- Do not use it in cold temperatures. You really don’t want this stuff to get dry. It’s bad news.
- Do not leave it on for days. Do it overnight at the most.
- If the paint doesn’t come up when you peel away the paper use a plastic scraper to remove it. Don’t go crazy with the scraper.
- After you’ve scraped and peeled away everything, wipe it all down with a damp rag. Now that the paint is activated and turned liquid essentially, you’re able to wipe off excess with a damp rag. Only use rags you plan on throwing away. This is an extremely messy process so keep that in mind.
- If the paint hasn’t completely been removed, be weary of re-applying. This is how I ran into my “hairy” issue. The wood will start to break down because of the acidity of the paste.
- You can sand it out afterwards and things will be fine if the “hair” is minimal, but you don’t want to ruin the wood so much that you’re not able to sand it out.
- Last but not least, use the neutralizer that comes in the container.
- I’ll be fully honest with you, I did not use it. I sanded the window down after the paint was mostly removed, tested the acidity and it seemed ok. I hoped for the best and started priming.
- On another project, we did not test out the acidity and we also did not sand it down. The white paint seemed to have a yellow/orange color to it in certain areas and would re-appear after recoating. We think it is due to not neutralizing before painting. Proceed with caution if you choose not to neutralize!
Antique Glass Sourcing & Glass Cutting
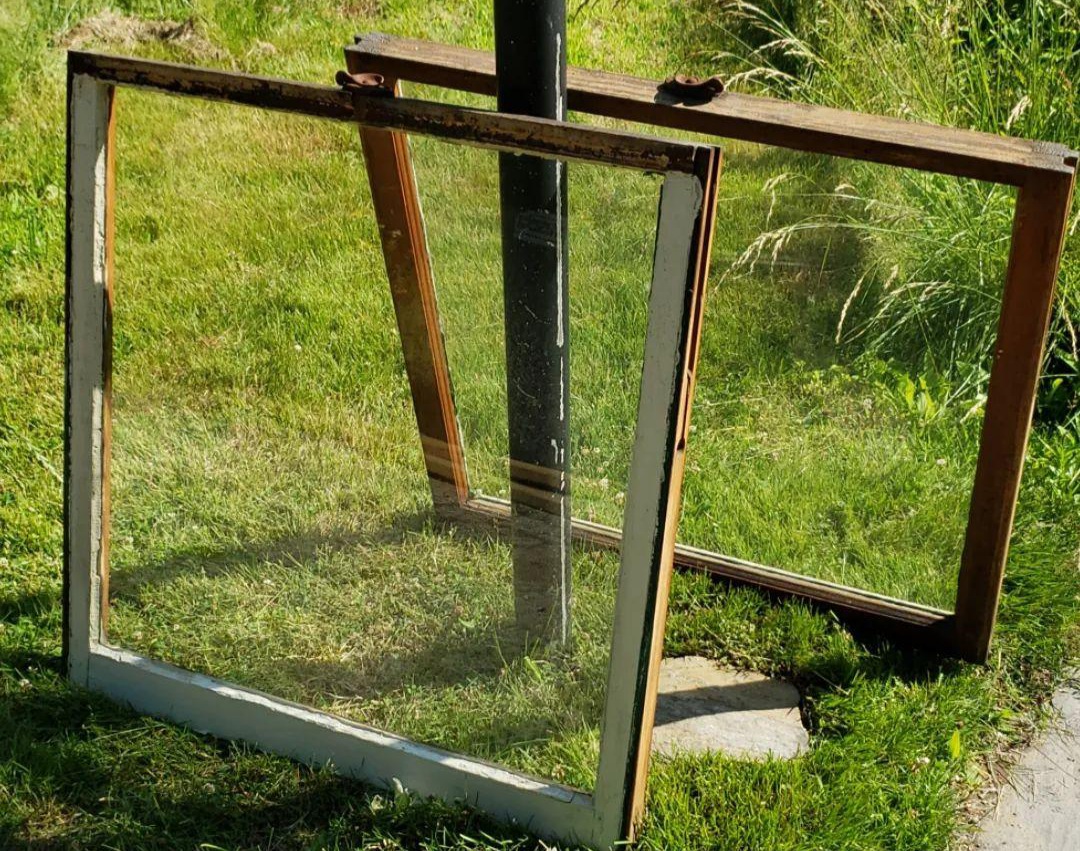
Once I felt that I was nearing the end of the paint removal process I started looking to replace the glass panes that were broken. I’m unsure of the age of the glass, but it definitely was a bummer to remove what I assumed was antique glass. I had no other choice.
Where to Buy Antique Glass?
I started calling around to local glass stores to see how I could purchase replica antique wavy glass. Little did I know, no one near me did this and the online stores I found were charging astronomical amounts of money. I was also interested in reeded glass. Because this window is in our bathroom and on a main road, I wouldn’t mind having privacy glass installed. The reeded glass would match perfectly with the bead board in the room but, the reeded glass price was also astronomical.
So I took to local antique stores. I found a place that had a ton of old window sashes. I brought my measurements and hoped they had a sash that had the same pane sizes as my window. That was not the case, but I did end up buying 2 large windows for 22$ with a single pane of glass that I would be able to cut down to size.
If you’re wanting to learn how to cut glass, definitely give this a go! The price wasn’t too bad but I did end up breaking a ton of glass and miss-cutting so much that I was only able to get about 2 panes from these large windows. If you are short on money and time, call your local hardware store. Have them provide you with glass cut to your exact size. Regular glass is pretty cheap and they didn’t charge me for the cuts. I would have saved money, time and frustration if I had just went straight to the hardware store. I would’ve lost a little bit of satisfaction of re-using old glass had I went straight to the hardware store. Weigh your options and decide what works for you!
Cutting Glass
That being said I’m glad I learned how to cut glass! Although the glass cutting process was a bit difficult at first, once I figured out what I was doing wrong it was actually quite simple. These are the tools I used:
- Glass Cutter
- Drywall T-Square
- Safety Glasses
Measurements
First, I made my measurements – this is really, really important. The measurements need to be made for each pane individually. Your window sash may not be perfect so do not count on every single one being the same exact size. The cuts need to be extremely accurate but not too tight so the wood is still able to expand and contract throughout the seasons.
Moving to actually applying the measurements to the “cutting board” when marking your measurements you want to account for the space between the blade and the t-square. Some of my first cuts were an eighth or sixteenth of an inch too large and making tiny, tiny cuts to correct that is very difficult in my experience.
Once measurements are made and double checked, you’ll set your t-square and hold the glass cutter at a 90 degree angle. To hold your t-square in place you’ll have your pointer finger and thumb as far away from each other as possible, with as much pressure as you’re able to make, down on the ruler. And as your glass cutter moves down the ruler, your fingers should “walk” down with it so the t-square doesn’t move. Right at the beginning, make sure your t-square does not prevent the glass cutter from hitting the very top of the glass. Missing the first area of the cut could cause your line to not be perfectly straight all the way to the end of the pane.
Go For It
When you’re confident about all of that, go for it. Make one continuous line down the glass. It doesn’t have to be fast. It just needs to have continuous pressure. You will hear the noise of the cutter doing its job. You can only do this line once; make it count!
Once you’ve made the score is where the nerve wrecking part for me came in. I failed miserably at this multiple times, but by the end I realized it really wasn’t that serious. If you’re working with a smaller piece, you will use your hands to make the break. Hold your thumb on either side of the cut line and break it apart like a kit-kat. Just go for it and don’t be nervous. Oh – and wear your safety glasses!
For much larger sheets of glass you’ll use the edge of a square table. With your hand on either side of the sheet, line the cut-line up with the edge of the table. Bring the sheet up about 30 degrees and in one continuous motion, pull/push it down. It will have one clean break so hold on tight. It super satisfying once you get it!
View this post on Instagram
Replacing Window Spring Bolts
I go really into depth about removing and replacing spring bolts in this blog. I highly recommend checking that out if your windows also have this configuration. The process is pretty simple. I unfortunately did this step out of order, so I really recommend doing this before reglazing. You can tape over the beautiful new spring bolts so they don’t get damaged during the rest of the process.
Reglazing a Wood Window
This is where the the window restoration really starts to feel restorative! So congratulations to you for getting this far.
What You Will Need:
- Digital Heat Gun
- Steel Putty Knife (the stiffer the better)
- Leather Gloves
- Glazing Putty
- Glazier Points
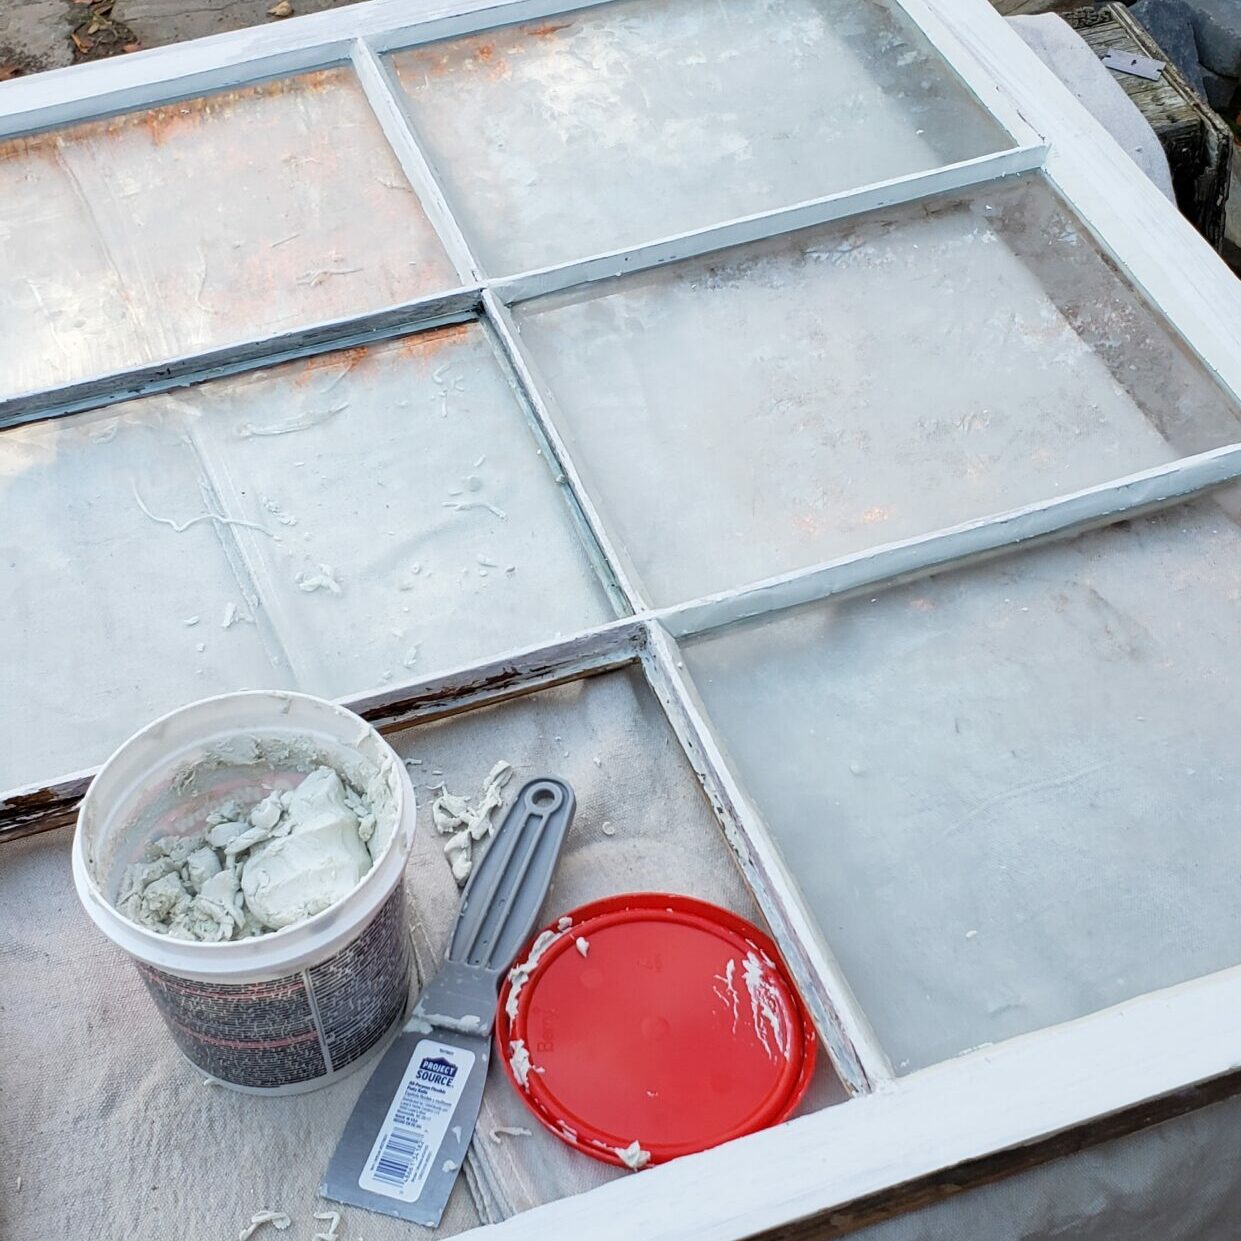
Removing Old Window Glazing
This is a tedious but satisfying process. Using your heat gun and putty knife you’ll be heating up glazing putty so that it gets soft enough to remove. You want to be very cognizant of how hot you’re making the glass and where glazing points are discover. These two things could damage perfectly good glass. The glass could crack if heated up too high. Glazing points could crack your glass if moved a certain way or if they are still in place and you try to pick up the pane.
I worked with my heat gun at a temperature of 600-650 degrees. My heat gun came with a heat shield to shield the glass from getting the direct heat. If your heat gun does not have this, you can use a long stainless steel taping knife or something similar.
View this post on Instagram
Once the gun is up and running, apply heat in sections, but keeping the gun moving along the area so it’s never focused on one section of glass all at one time. As you’re heating up, use your putty knife to touch the glazing to see if it’s starting to soften. As it softens you can scrape it away. Be aware of glazing points that you expose as you are scraping away the putty. Remove them as soon as you’re able so they don’t become a thorn in your side later.
When completing an entire pane, once again check for remaining glazing points before trying to move the pane of glass out of place. I broke multiple pieces because of this…
Prepping to Reglaze
Once you have all your panes out and stored in a safe place you can continue to use the heat gun to remove any remaining glazing putty in the beds of the muntins. You’ll want everything to be as new-looking as possible.
After that you’ll want to prime the beds with an oil based paint (you do not have to paint the side of the window that faces in at this time if you don’t want to). Glazing putty is oily and the oils will escape into the wood if you do not prime it. I recommend applying 2 or 3 coats.
Side note: Writing this blog post and looking at the old footage/pictures I’ve just realized I used water-based primer for this step, so I’ll let you know how that pans out for me…
Applying the Window Glazing & Glazing Points
There are three main steps for this part of the process. I’ll go through each step and share the nuances I learned. I used DAP Glazing Putty for all glazing. One big thing to note – do not do this step in cold temperatures.
First things first – Make sure all your glass is clean! Remove any old paint or glazing prior to placing in the bed. Next, lay out all your glass and number the pieces to ensure that when you go to put it in its final resting place, it fits properly. You do not want to get to pane #6 and find out that the last pane you have is too small or large to fit in the last existing spot.
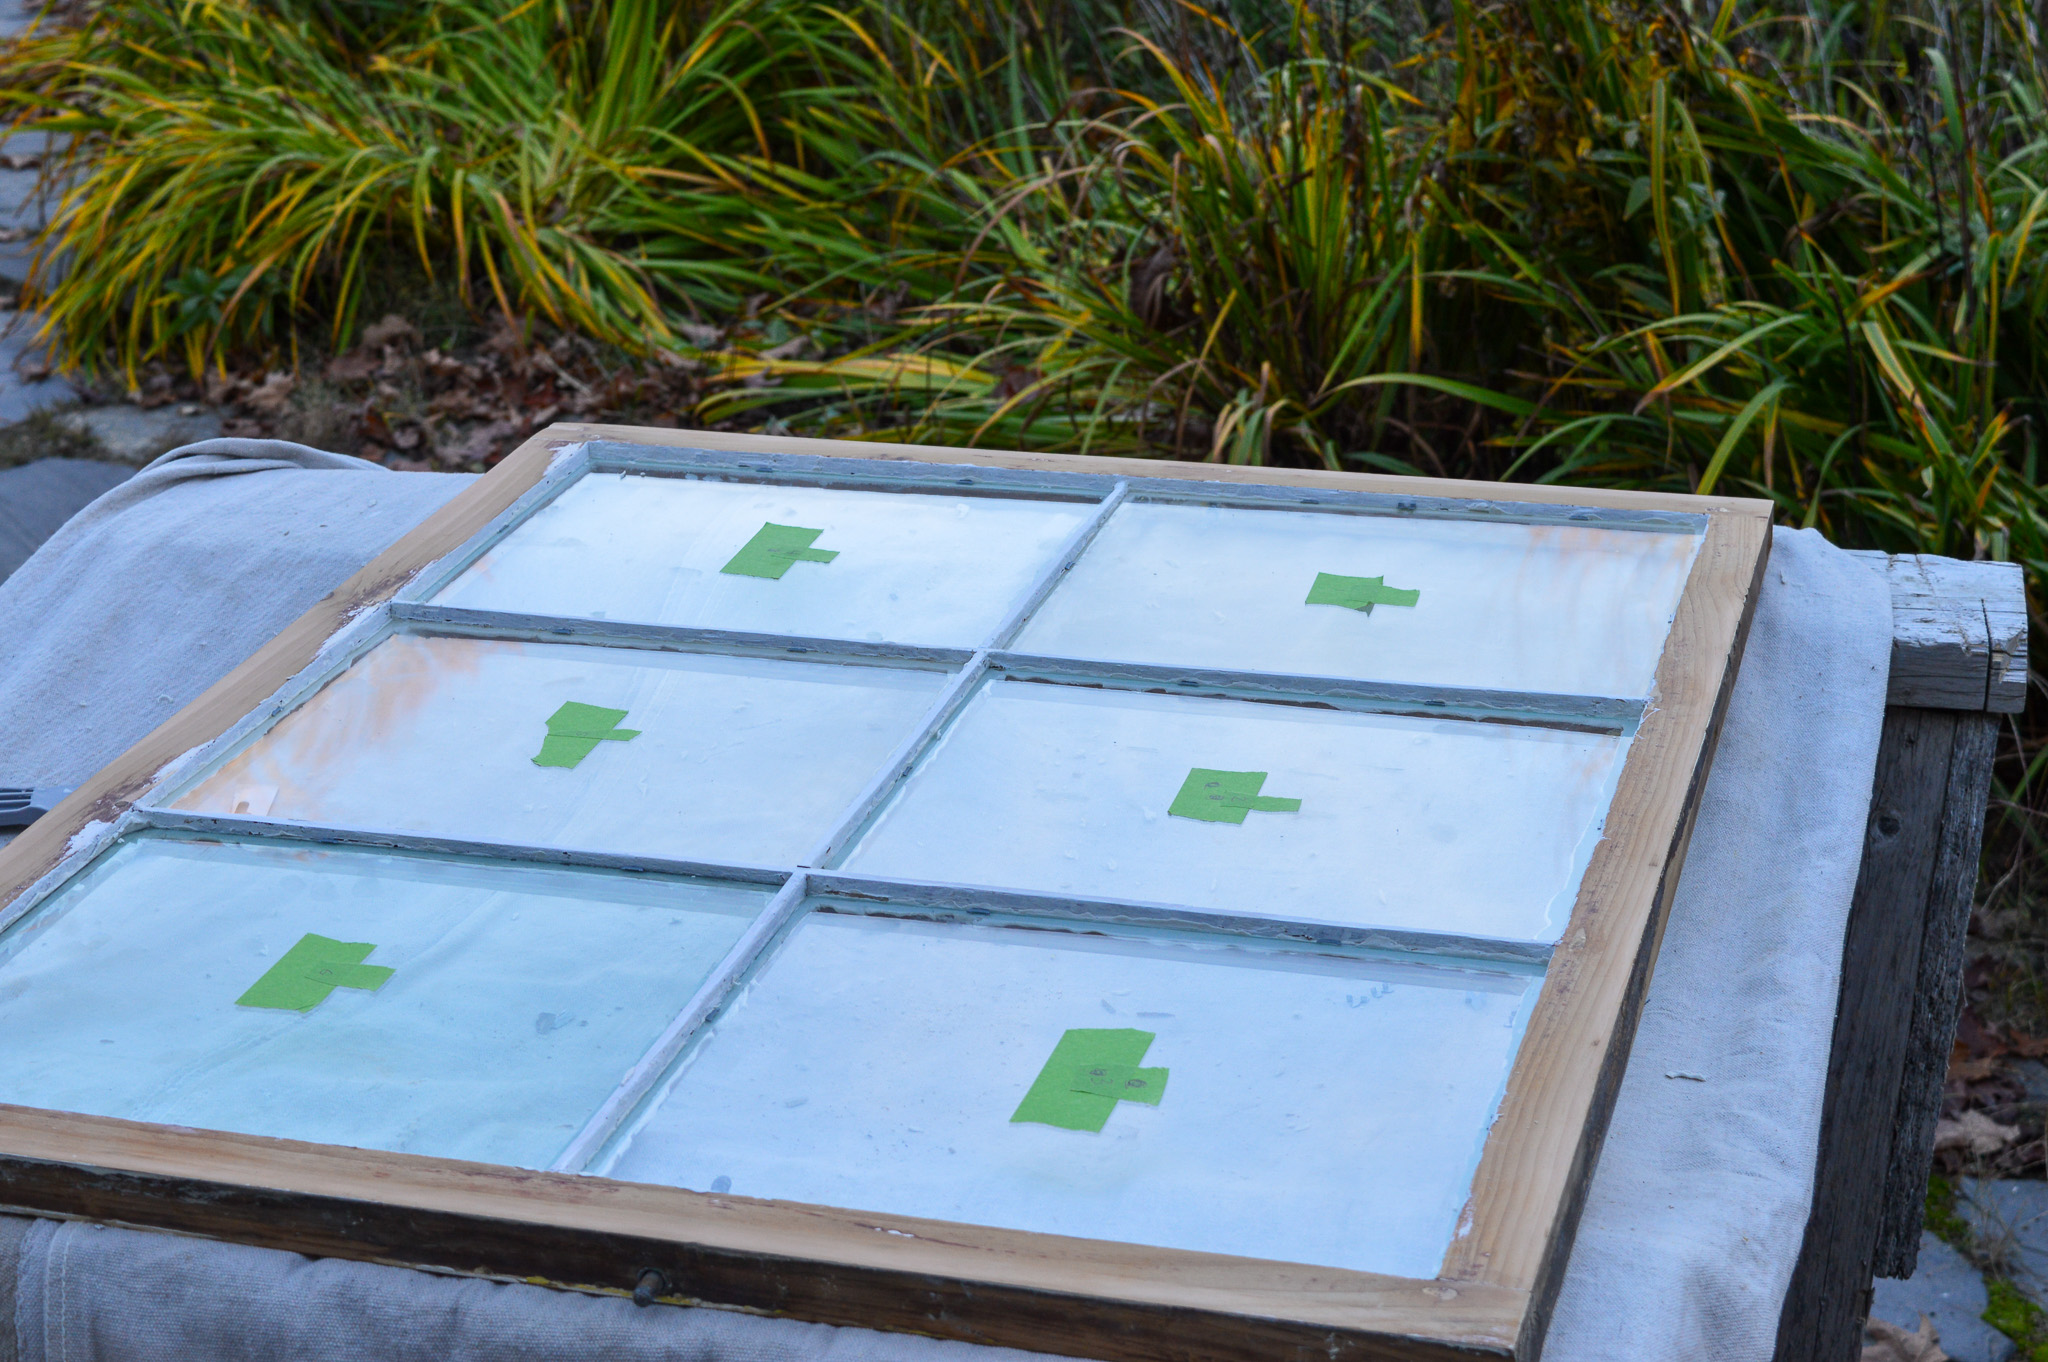
1. Apply a back bedding before inserting the glass
Roll the putty in your hand until you have a small ‘string’ to place in the bed. You’ll want it to be about an eighth-of-an-inch thick. You don’t really need to push it down, but it will probably get stuck to your fingers and force you to push it down. Doing this will prevent the glass from coming in direct contact with the wood. You only want to use a minimal amount of putty here, but enough so that there are no gaps. Keep a consistent amount around the entire space.
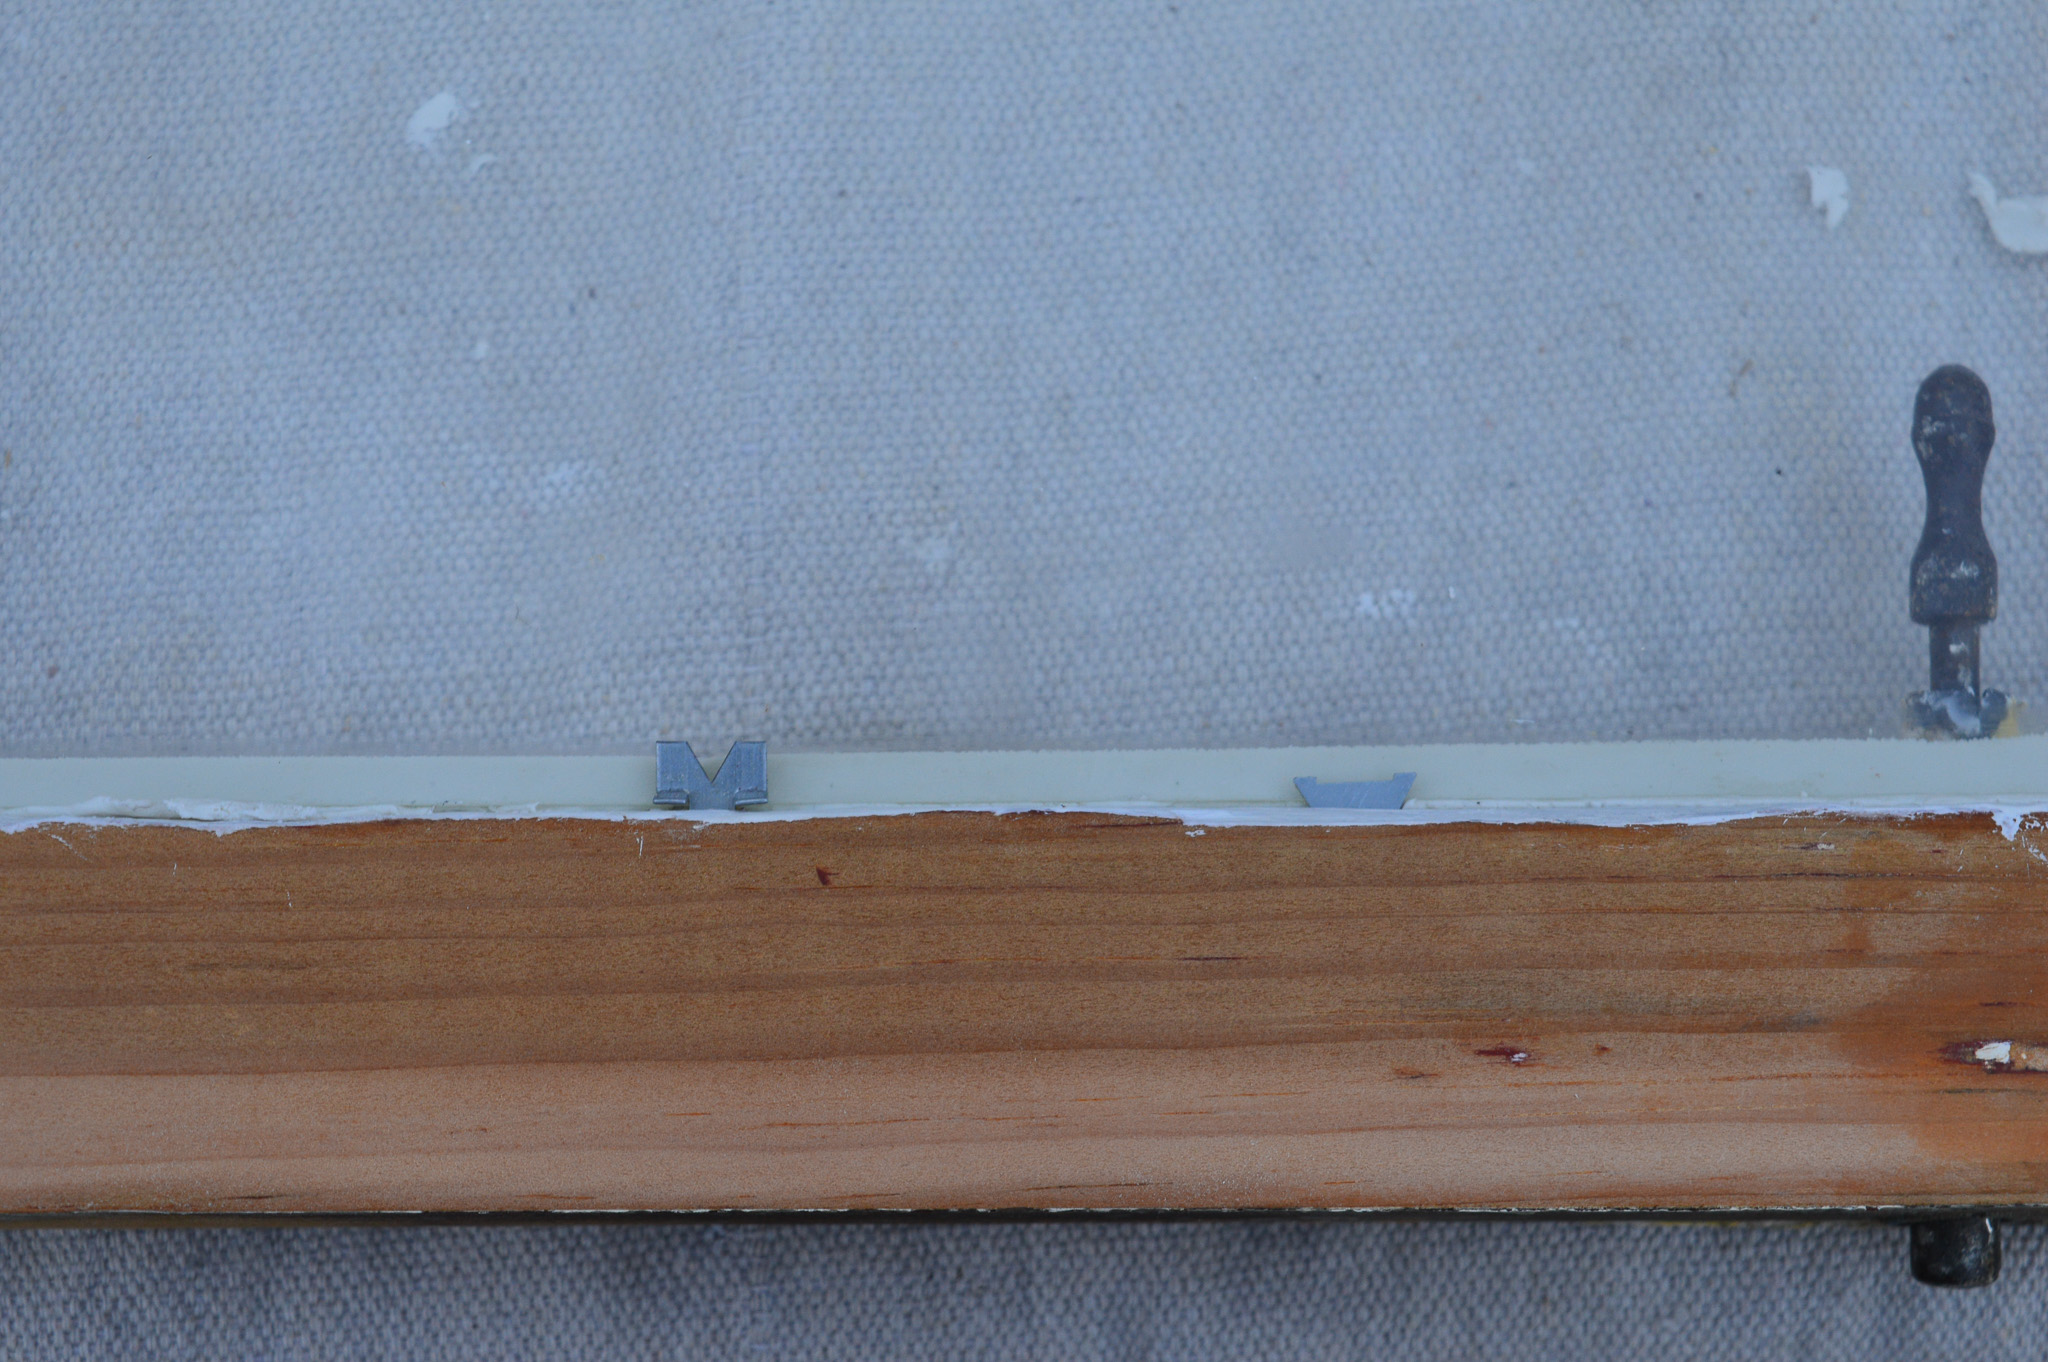
2. Install new glazing points
I highly recommend purchasing triangular push points or glazing points (right) like these. I had previously purchased Glazier push points (left) like these that are more square and they stick out way more then the triangles. This is really important because when you go to apply the glazing, your bevel needs to be really tight. If the glazing points stick out, your bevel may not be able to be tight. See below in the photo. The bevel and glazing points should not be higher then the white “line”.
3. Apply new glazing
Take your glazing putty and roll it into a thicker “string” that will fill in the L-shaped joint. Using your stiff putty knife push the glazing into that joint forcefully. The heavier it’s packed in there the easier it will be for you to create a flawless bevel. Once its in you can smooth the glazing at an angle. Some recommend dipping your knife in mineral spirits before smoothing over – I found this to super messy.
You want your angle to be high enough so that the glazing is not visible from the other side of the glass. The angle may be prevented from doing this if your glazing point stick out further then the muntins on the other side.
I promise you will get better and better at this as you do it more. Don’t strive for perfection on the first swipe. It will take time. You can redo a line if need be. Be patient with yourself. My windows did not come out perfect. You can see my glazing through the other side in many spots. It is what it is, its all part of the process!
One thing I wish I had purchased was whiting. This is a powder that easily removes the oils from the glazing putty off your glass. Without it, the dried putty is extremely difficult to clean off. I’ve needed to use razor blades in some areas to clean it off. I was unable to find it locally near me, but you can order it online here.
Properly Priming and Painting
Once the glazing is complete and dried you’re ready for paint! I believe the glazing I used took quite a while to dry. Check your container for the wait-time. It may still be impressionable when you get around to painting it and I think that is ok, the glazing is meant to hold the window in. The paint is necessary to seal up everything.
On the glazing you’ll want to prime and paint with exterior, oil-based paint. I used mask and peel to mask off the window first. You paint it on the window to “mask”, it dries clear and then you’re ready to paint! Once you’ve done multiple coats of priming and painting you’ll score the mask and peel with a razor blade and satisfyingly peel off the mask. Wa-la. You’re. done.
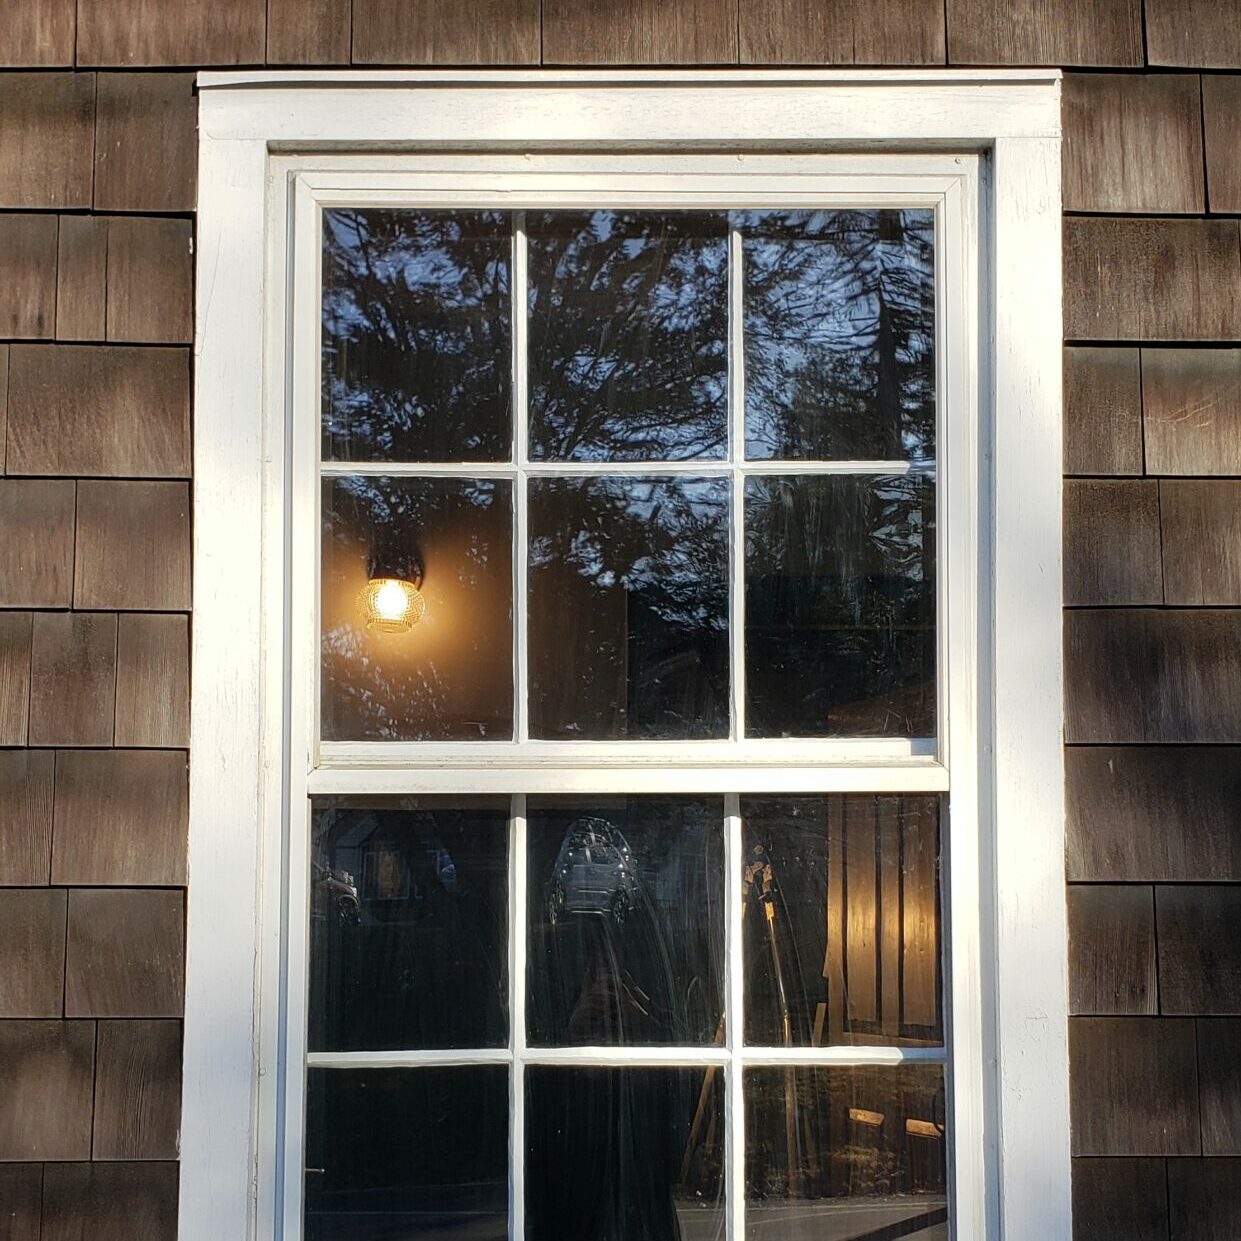
If you’re painting the same color on both sides, you’ll repeat the same process. I personally was using a different paint-type on the inside. I used Valspar’s Bonding Water-Based Primer and then Valspar’s Blackened Pine over that which is an acrylic paint. Both sides came out great!
Completing the Window Restoration
Final Step: Admire your hard work!
The road to get here was so long, but the results are something I am definitely proud of. And there will be many more windows in the house to tackle so this was just the warm-up!
Let me know below in the comments if you’re tackling this as well!
3 responses to “The Year-Long Window Restoration”
As a heat source for softening old putty, a hand held steamer is more controlled than a heat gun (and safer). Old windows are built with WONDERFUL wood.
Thanks for the tip, Mark! I will definitely consider using a steamer on the next window. Thanks!
[…] been working on a year-long window restoration and recently needed to remove and replace my sash spring bolts without removing the glass. Before […]