Window Restoration
I’ve been working on a year-long window restoration and recently needed to remove and replace my sash spring bolts without removing the glass. Before successfully removing them I was Googling to no avail how to do this and did not read anything that would help me. I’m writing this for the very few people who may run into this issue in the future.
One important thing to note, this involves partial destruction of the spring bolt and may only be specific to the spring bolts pictured below. I can’t speak to any others.
With that being said, I hope this is helpful.
For those just learning about sash spring bolts and those dealing with this issue, I’m going to break this post up into two separate topics:
- What are sash spring bolts and what is their history?
- How do you remove and replace sash spring bolts (without moving/restoring the window)
What is a Sash Spring Bolt or Window Spring Bolt?
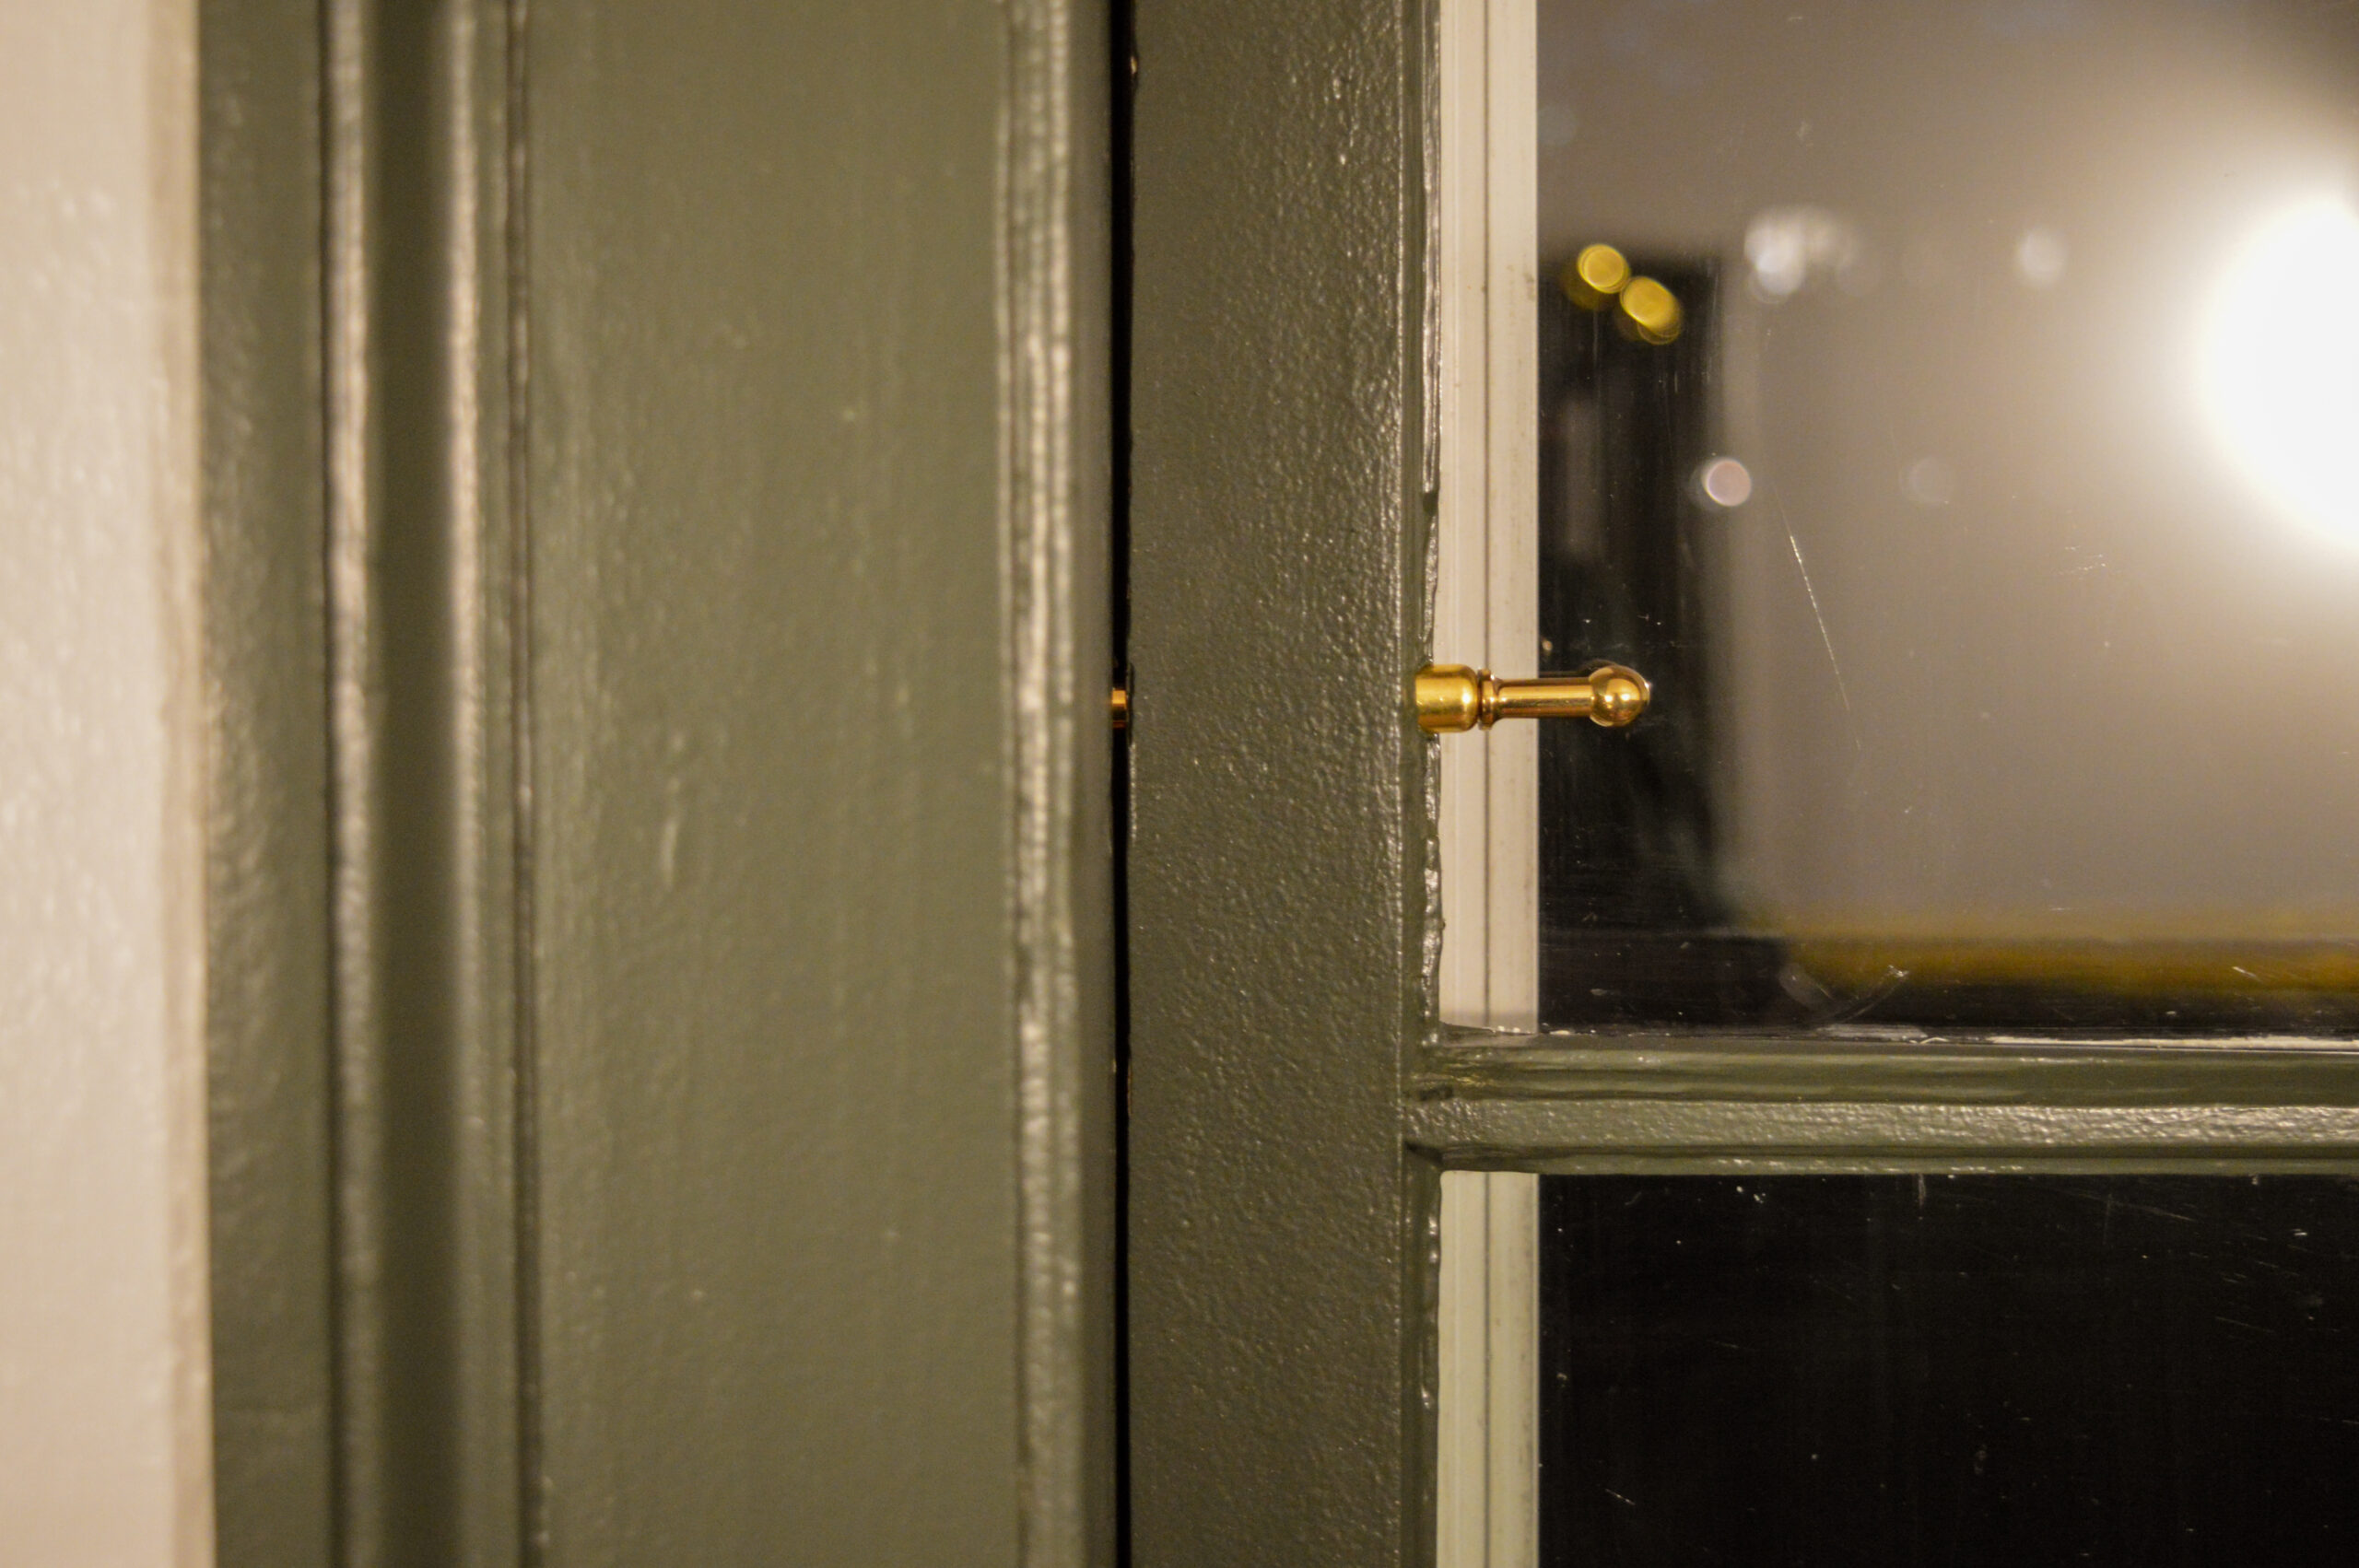
Sash spring bolts, or window spring bolts are used in wood window sashes to hold and lock a sash in place. From what I’ve read, typically two spring bolts will be in the upper sash, and one will be in the lower sash.
The spring bolts go through the stile of the sash and into the sash track where there is a hole for the rest of spring bolt to sit and prevent the window from moving. Throughout the sash track other holes are present so you can open the windows half way or all the way.
Because the spring bolts are spring loaded it is pretty easy to activate them, slide the sash up or down and put the spring bolt back into place.
The spring bolts do tend to however get old over time and in turn are more difficult to move. I chose to replace mine for two reasons, one being they were getting more difficult to move and two, I personally wasn’t a fan of the style and was looking for something to match the newly renovated room.
How old are they?
I am continually searching for more information as to what time period these types of windows are from. I recently recieved insight that the windows themselves may be from the 1840s-1870s and would be considered ‘second generation’ to my home based on my house being built in 1780. So. They’re super old. How cool is that? The bolt type specifically pre-dates the window weight system, and came after sash bolts (sans springs). The most informative page I’ve found so far about window history was here. Big thanks to the admin for responding to my inquiries 😁 see if you can find them!
How to Remove Sash Spring Bolts
I procrastinated removing the spring bolts for a while because I realistically should’ve removed them when I glazed the window.
If you are doing a full window restoration, please take care of this step before re-glazing your windows.
If you’re in a situation where you just finished re-glazing or have no need to re-glaze, then I hope sharing what I did will help you.
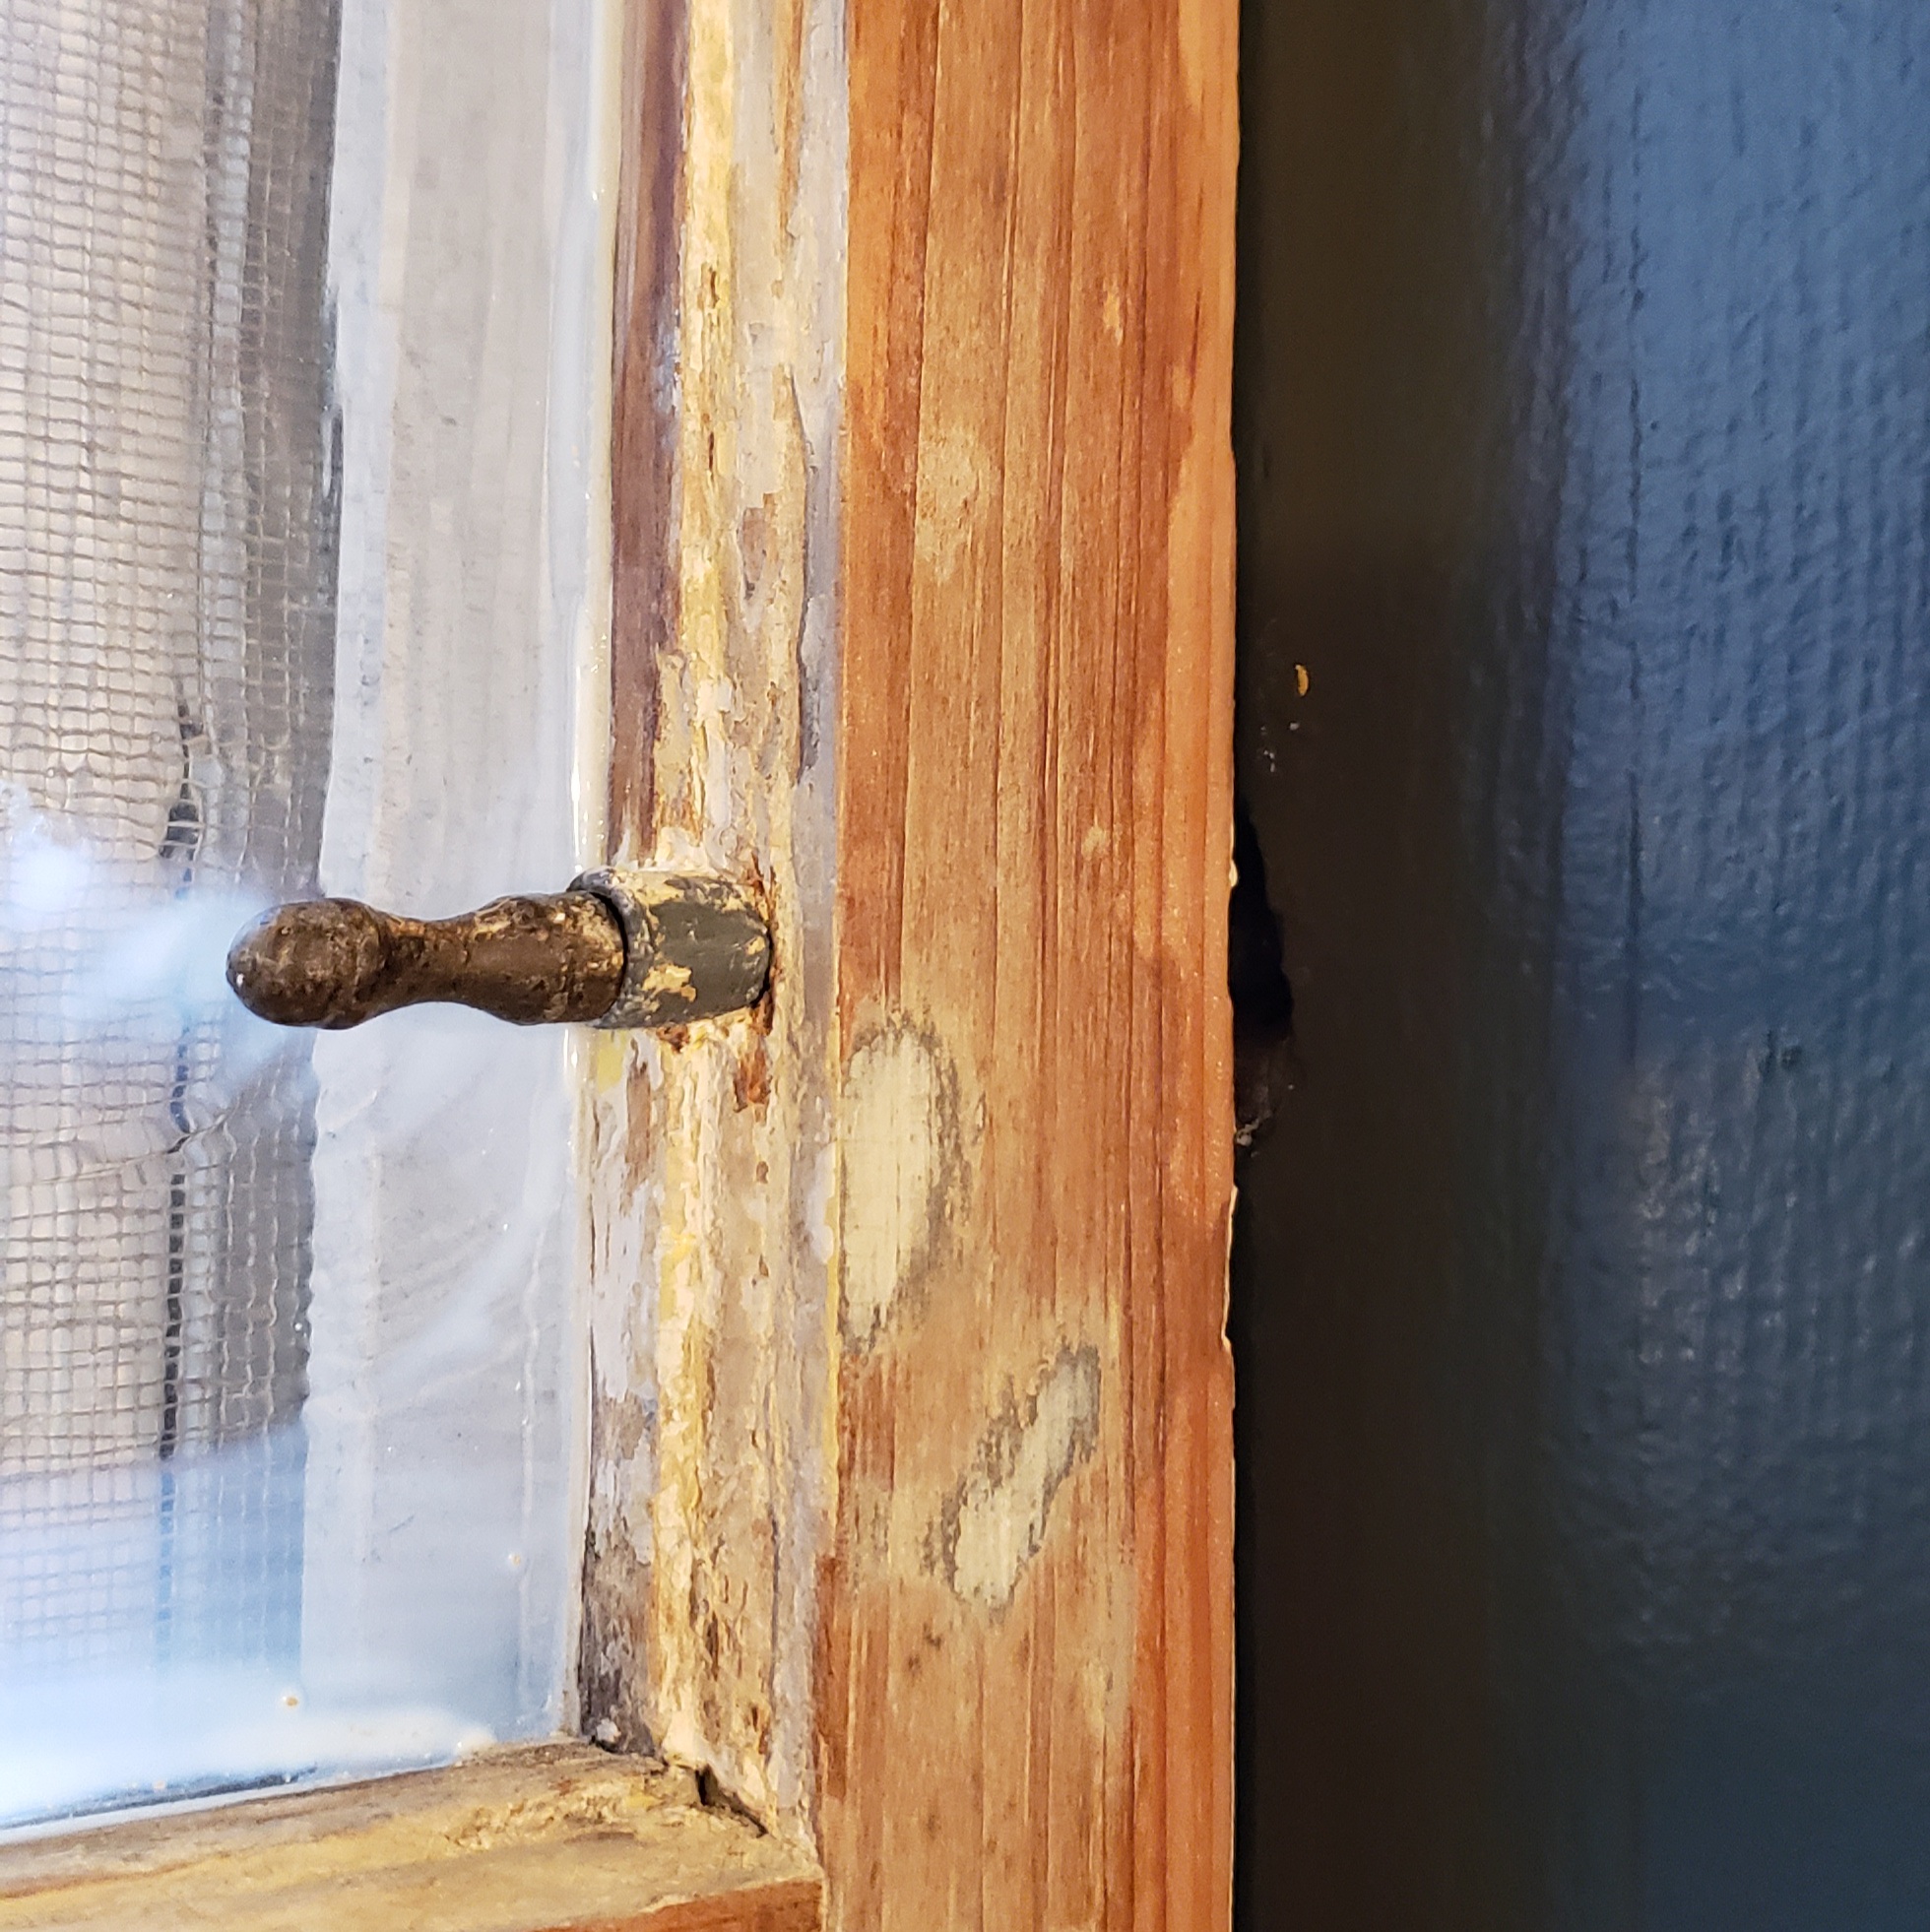
The spring bolts in my upper sash were sliver, possibly steel or some other type of hard metal. The piece that surrounded the spring bolt was aluminum or something extremely flimsy, which was very helpful for me to remove these without breaking glass.
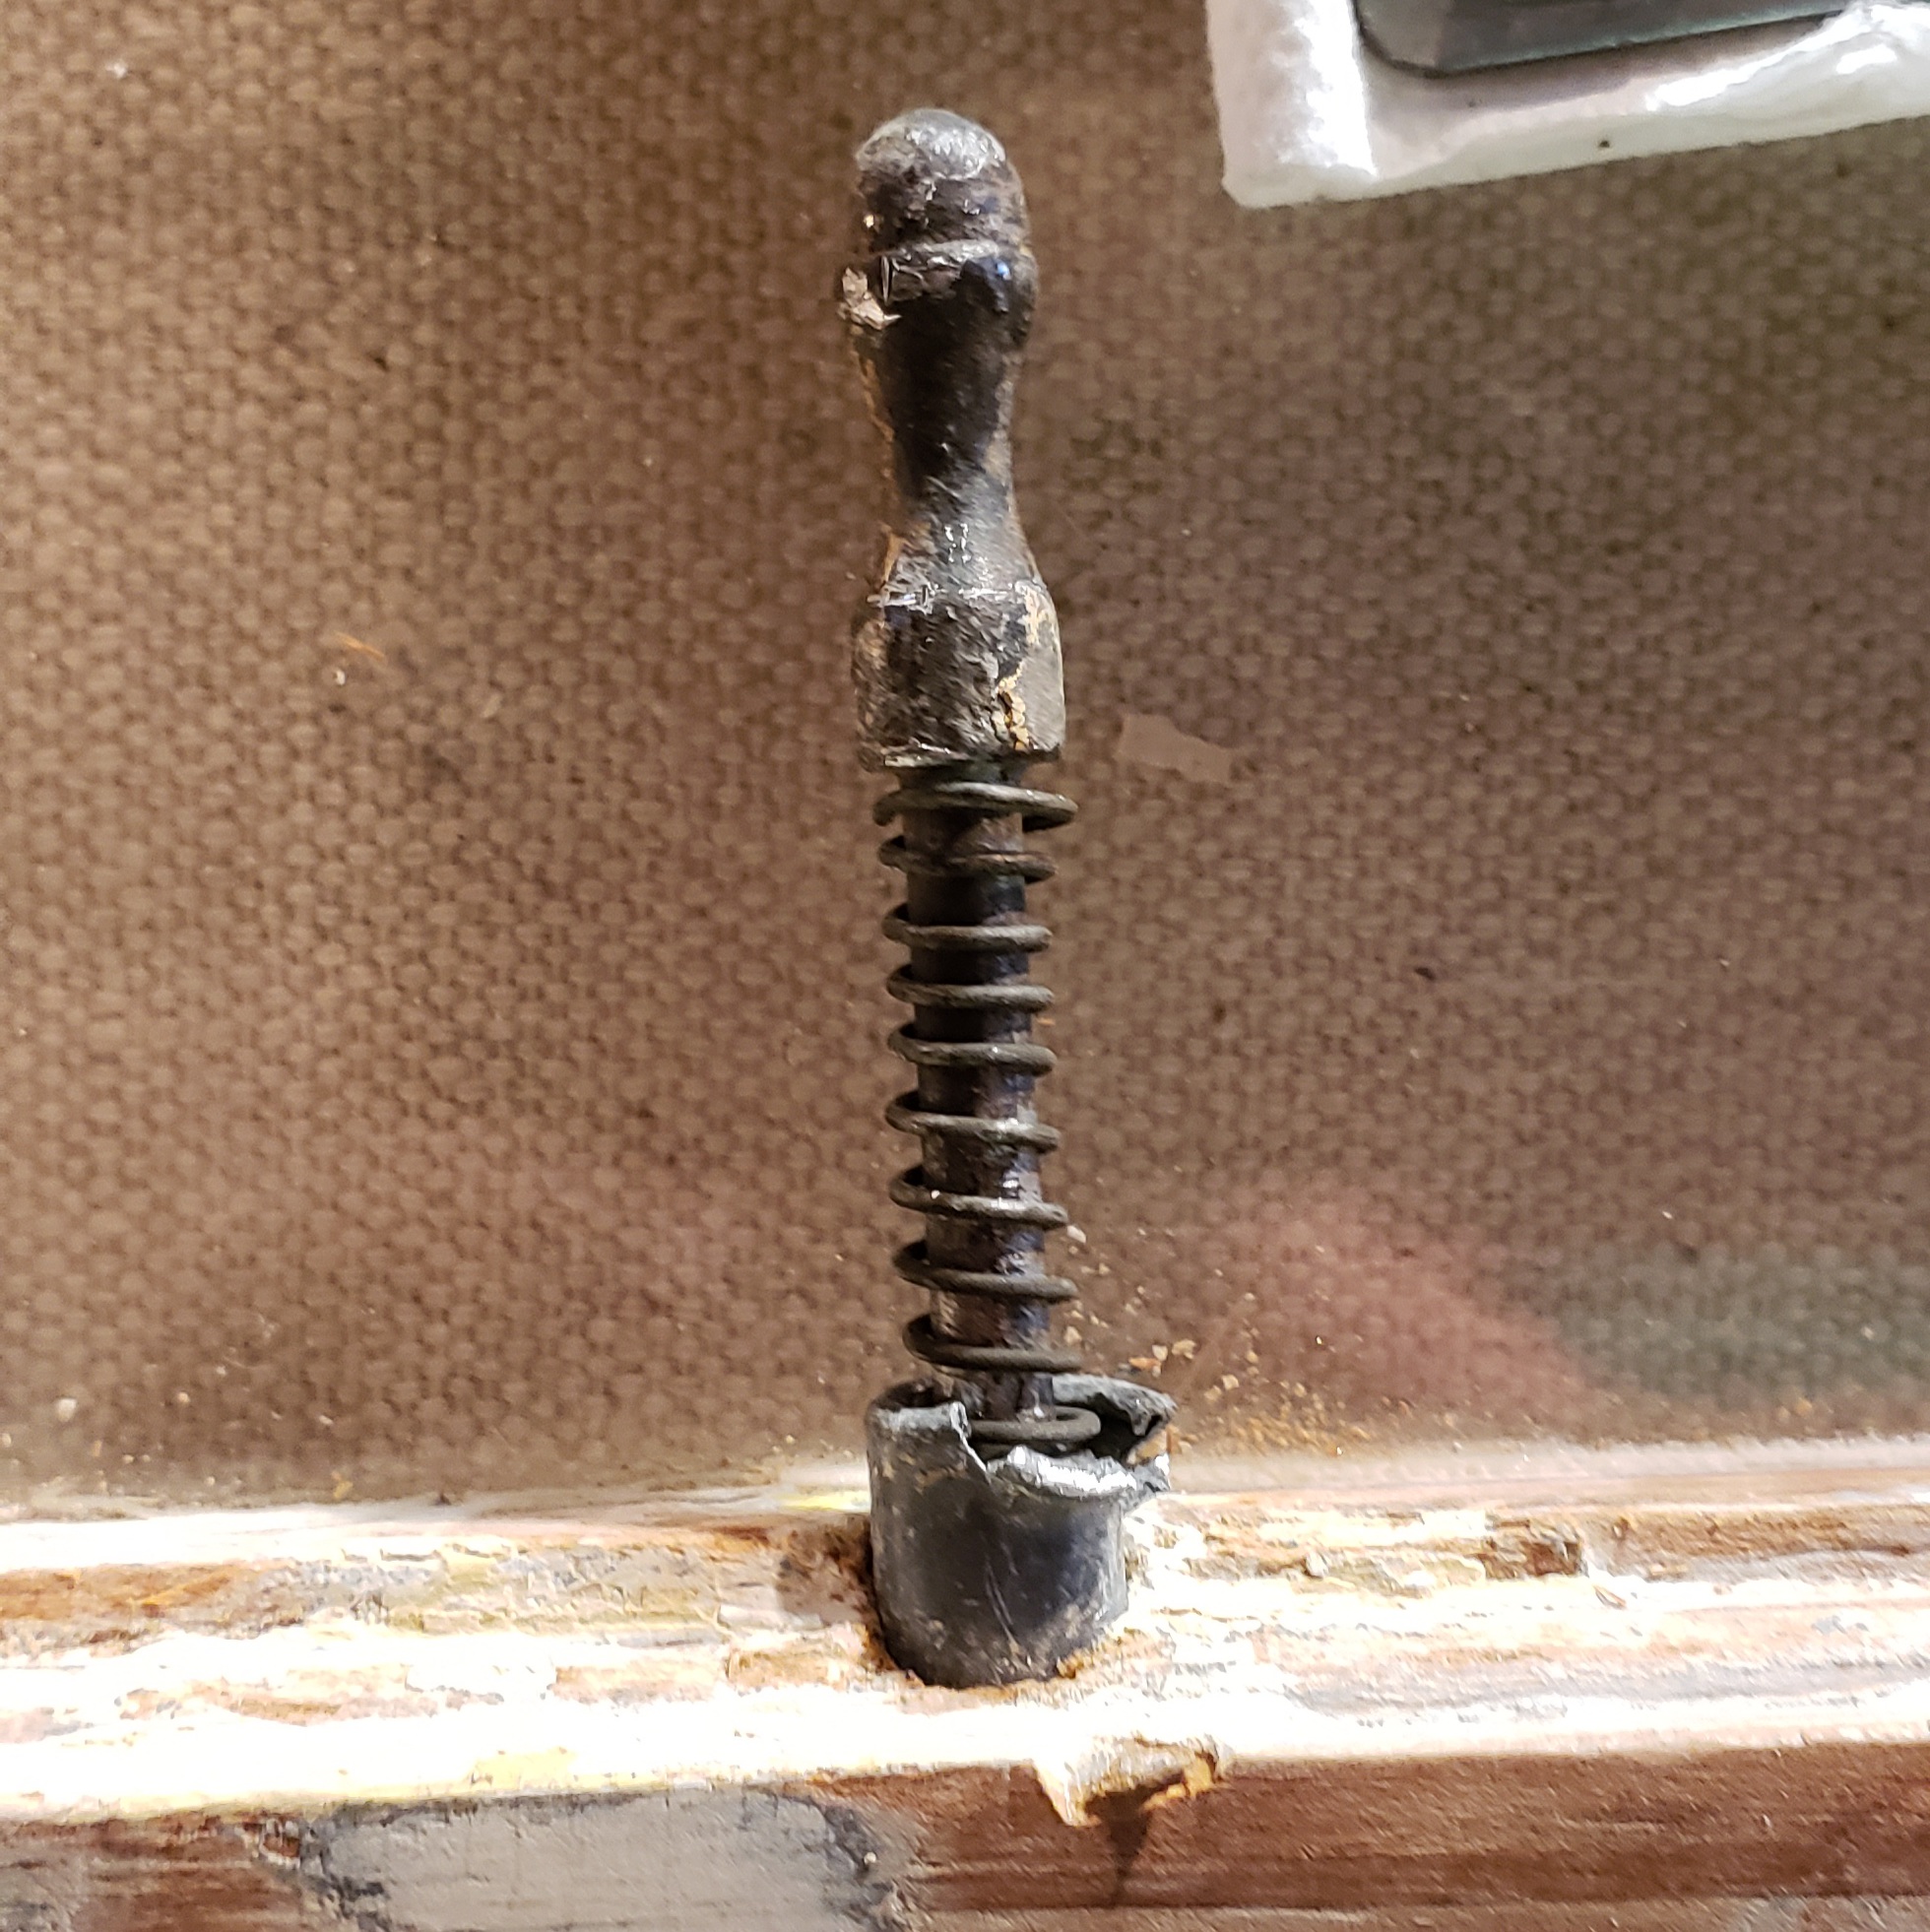
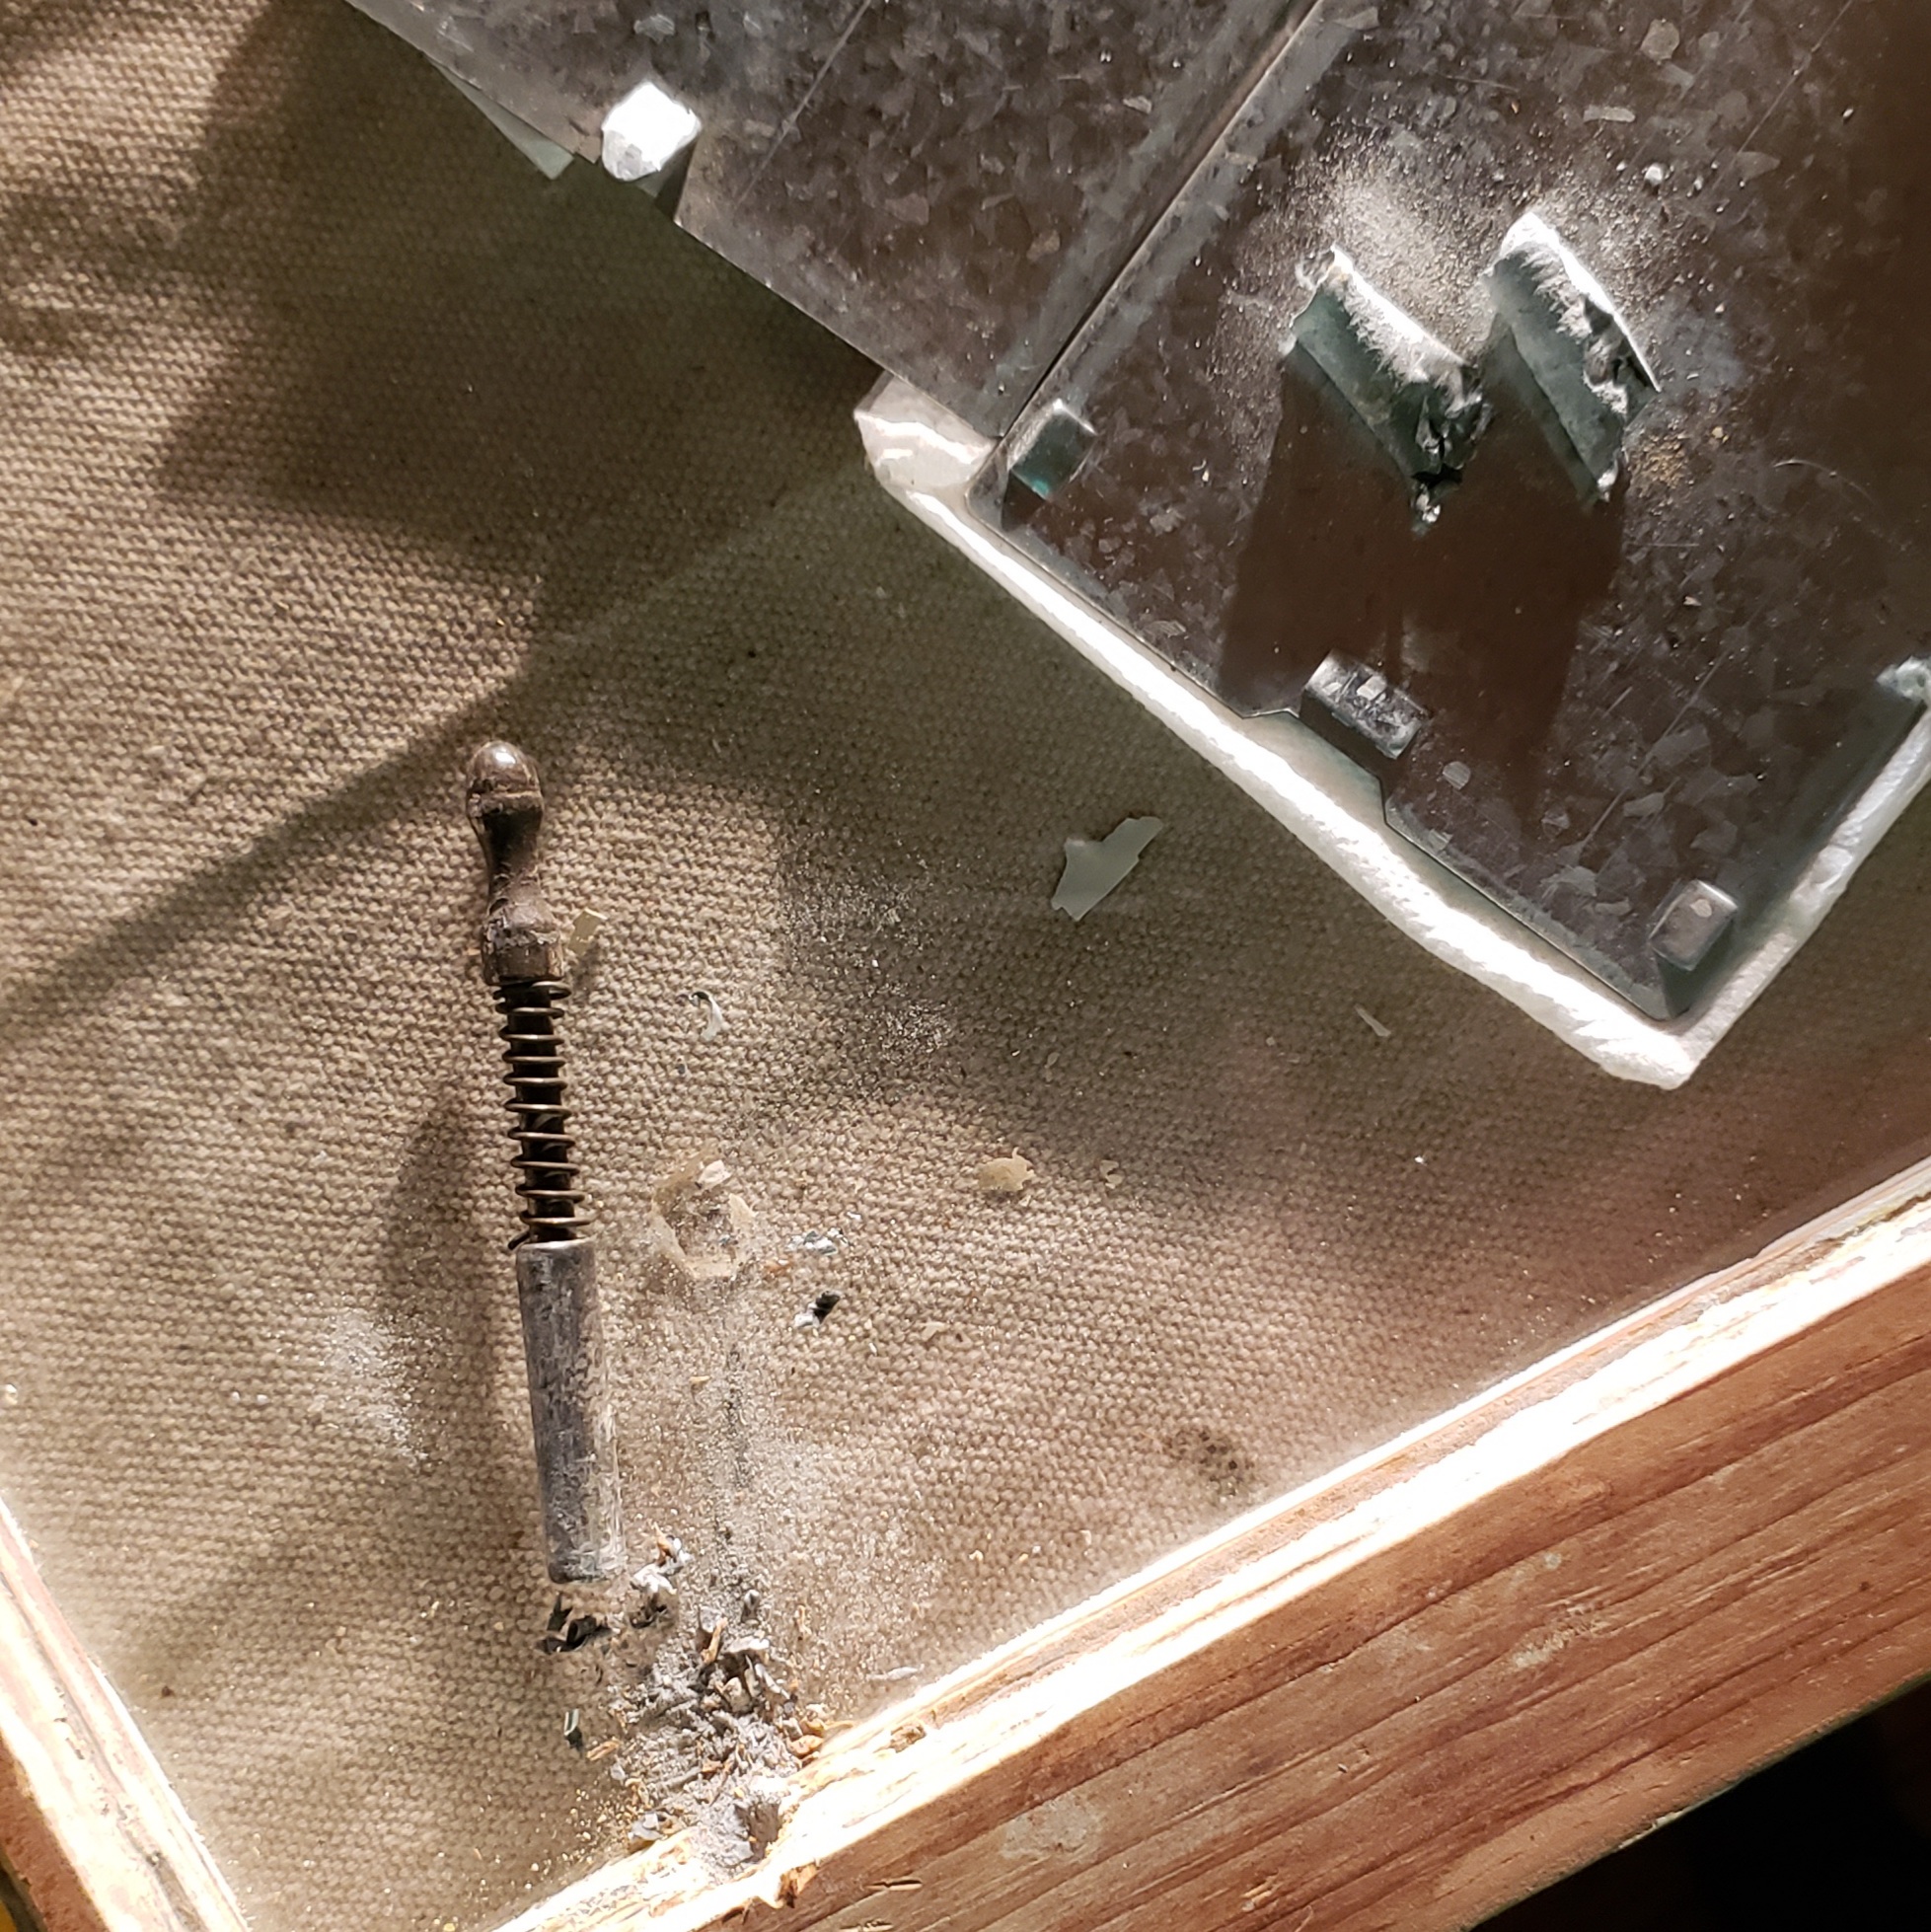
Once I realized this, the goal was to pull the bolt towards the center of the window. The only thing holding it in is a curled piece of aluminum. Uncurling that piece and making the opening bigger allowed me to wiggle the spring and the bolt out.
Next would be removing the aluminum. For me it was very tight up against the hole. I used a variation of things to roll it into itself and wiggle it out. I would go back and fourth between a paint can opener (the curved end really helped, but obviously use whatever you have that is similar) and a drill bit no larger then the size of the spring bolt you will be replacing this one with.
It may take some time, but eventually you will get it out!
How to Replace Sash Spring Bolts
Now that the old bolts are out, the next step is pretty simple but you do still want to be extra careful. The glass could still be hit and cracked.
If you haven’t already you’ll want to remove the sash from its place and set it on a table. Next, find a drill bit that is equal to the size of your new spring bolt. When in doubt start smaller. Then go bigger… You do not want your hole to end up bigger than the spring bolt.
While drilling, make sure you are straight, otherwise the spring bolt will look a bit wonky when its in the window and could even be in a position that rubs against your glass.
Good luck!
Once you’ve done that, you can put the spring bolts in. Don’t be afraid if it fits a little snug, it should be rather tight.
Also – if you purchased the bolts below, make sure the opening where you can see the springs faces outside. Otherwise, depending on your stile width, you may see that hole.
Where to Buy Sash Spring Bolts
From my experience, my local hardware store does not carry window spring bolts. I had to purchase mine online and it wasn’t a bad thing because I am extremely happy with what I received. I was hoping to purchase window pins that match the accent color I have going throughout the rest of the room. The options came in unlacquered brass, oil-rubbed bronze, stain nickel and polished nickel. If you’re local to Philadelphia, PA you could possibly walk in and grab these. I ordered them online from Kilian Hardware.
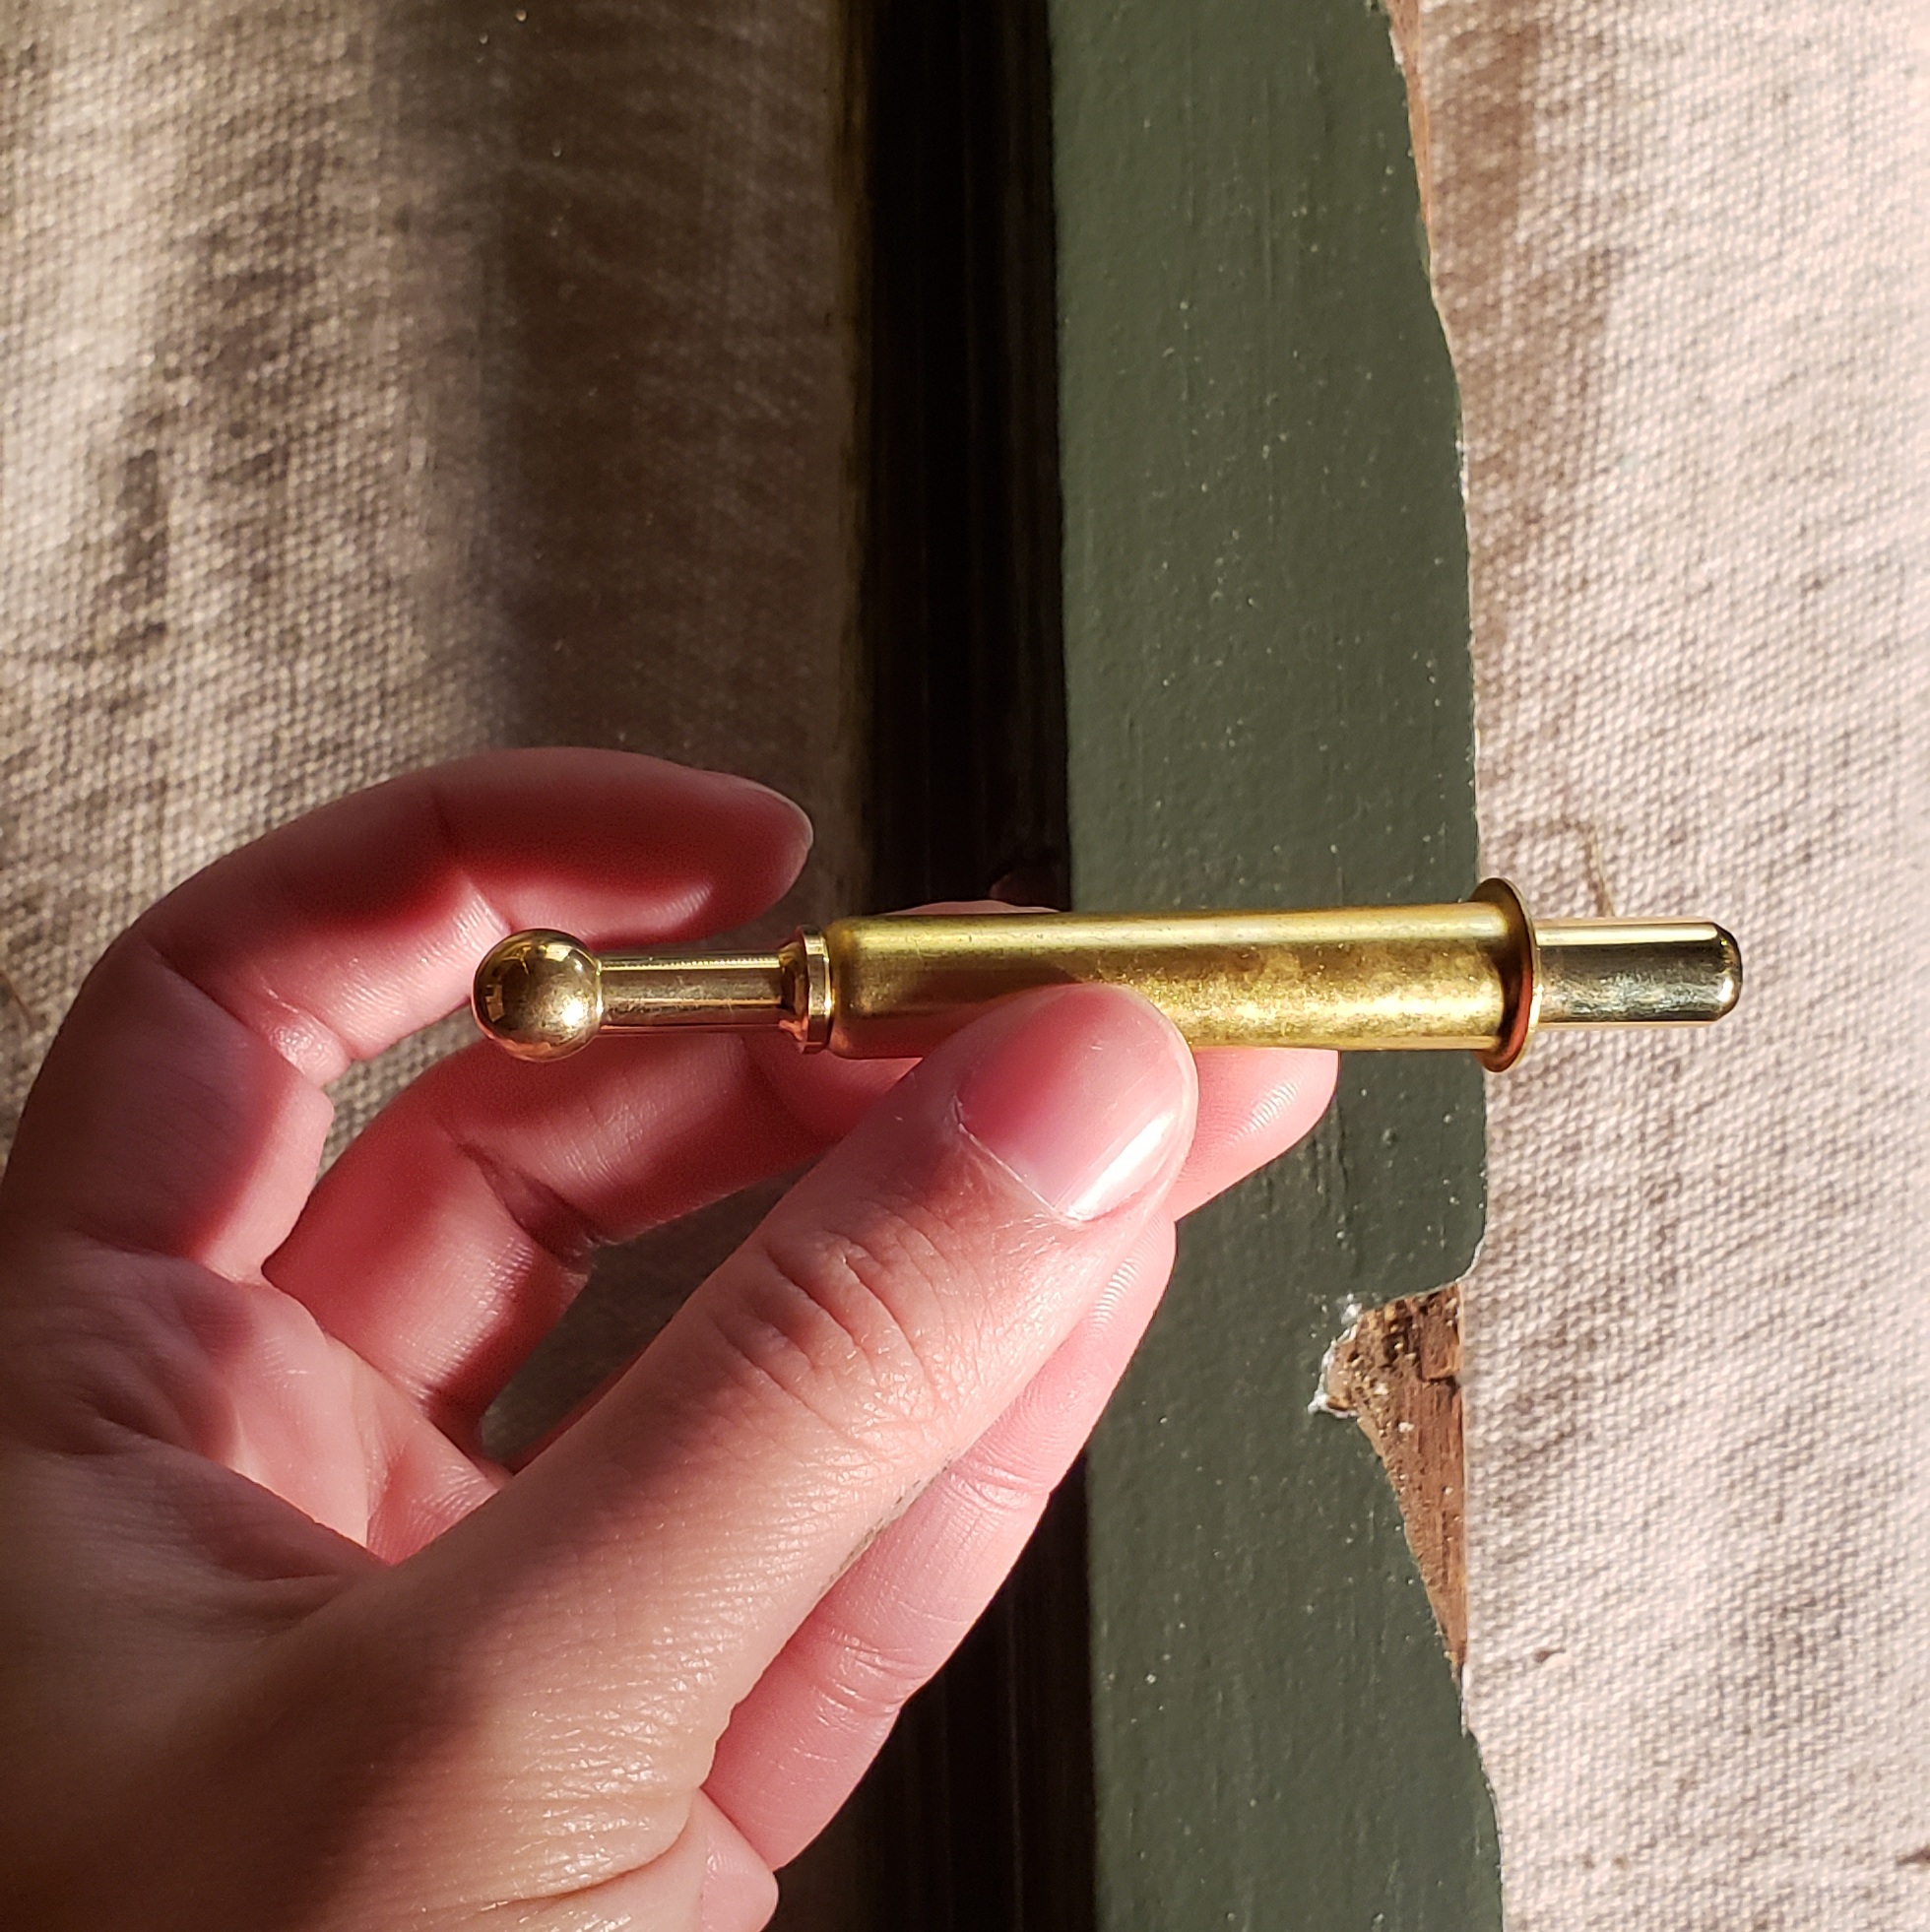
They’re gorgeous, hefty and great quality. I would highly recommend purchasing from them if you are in the market for sash spring bolts.
If want to continue follow this window journey, check us out on Instagram – @justanother.house
View this post on Instagram
One response to “Removing and Replacing Sash Spring Bolts”
[…] go really into depth about removing and replacing spring bolts in this blog. I highly recommend checking that out if your windows also have this configuration. The process is […]