Restoring Beauty Back Into Our Home
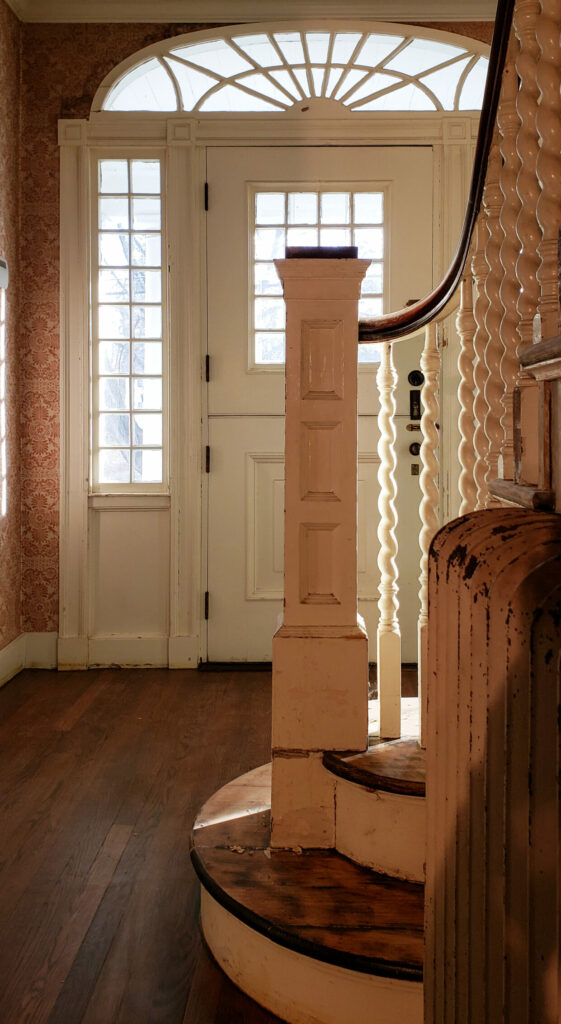
The entryway to our home is something I am so grateful for. Its absolutely stunning and I often wonder how I am so lucky to be able to have such a magnificent piece of history and architecture in my life. There are two show stoppers, the doorway and the staircase (more specifically the barley twist spindles). They’re both in need of some desperate love and affection, but right now we’re tackling one thing at a time and the staircase is up first.
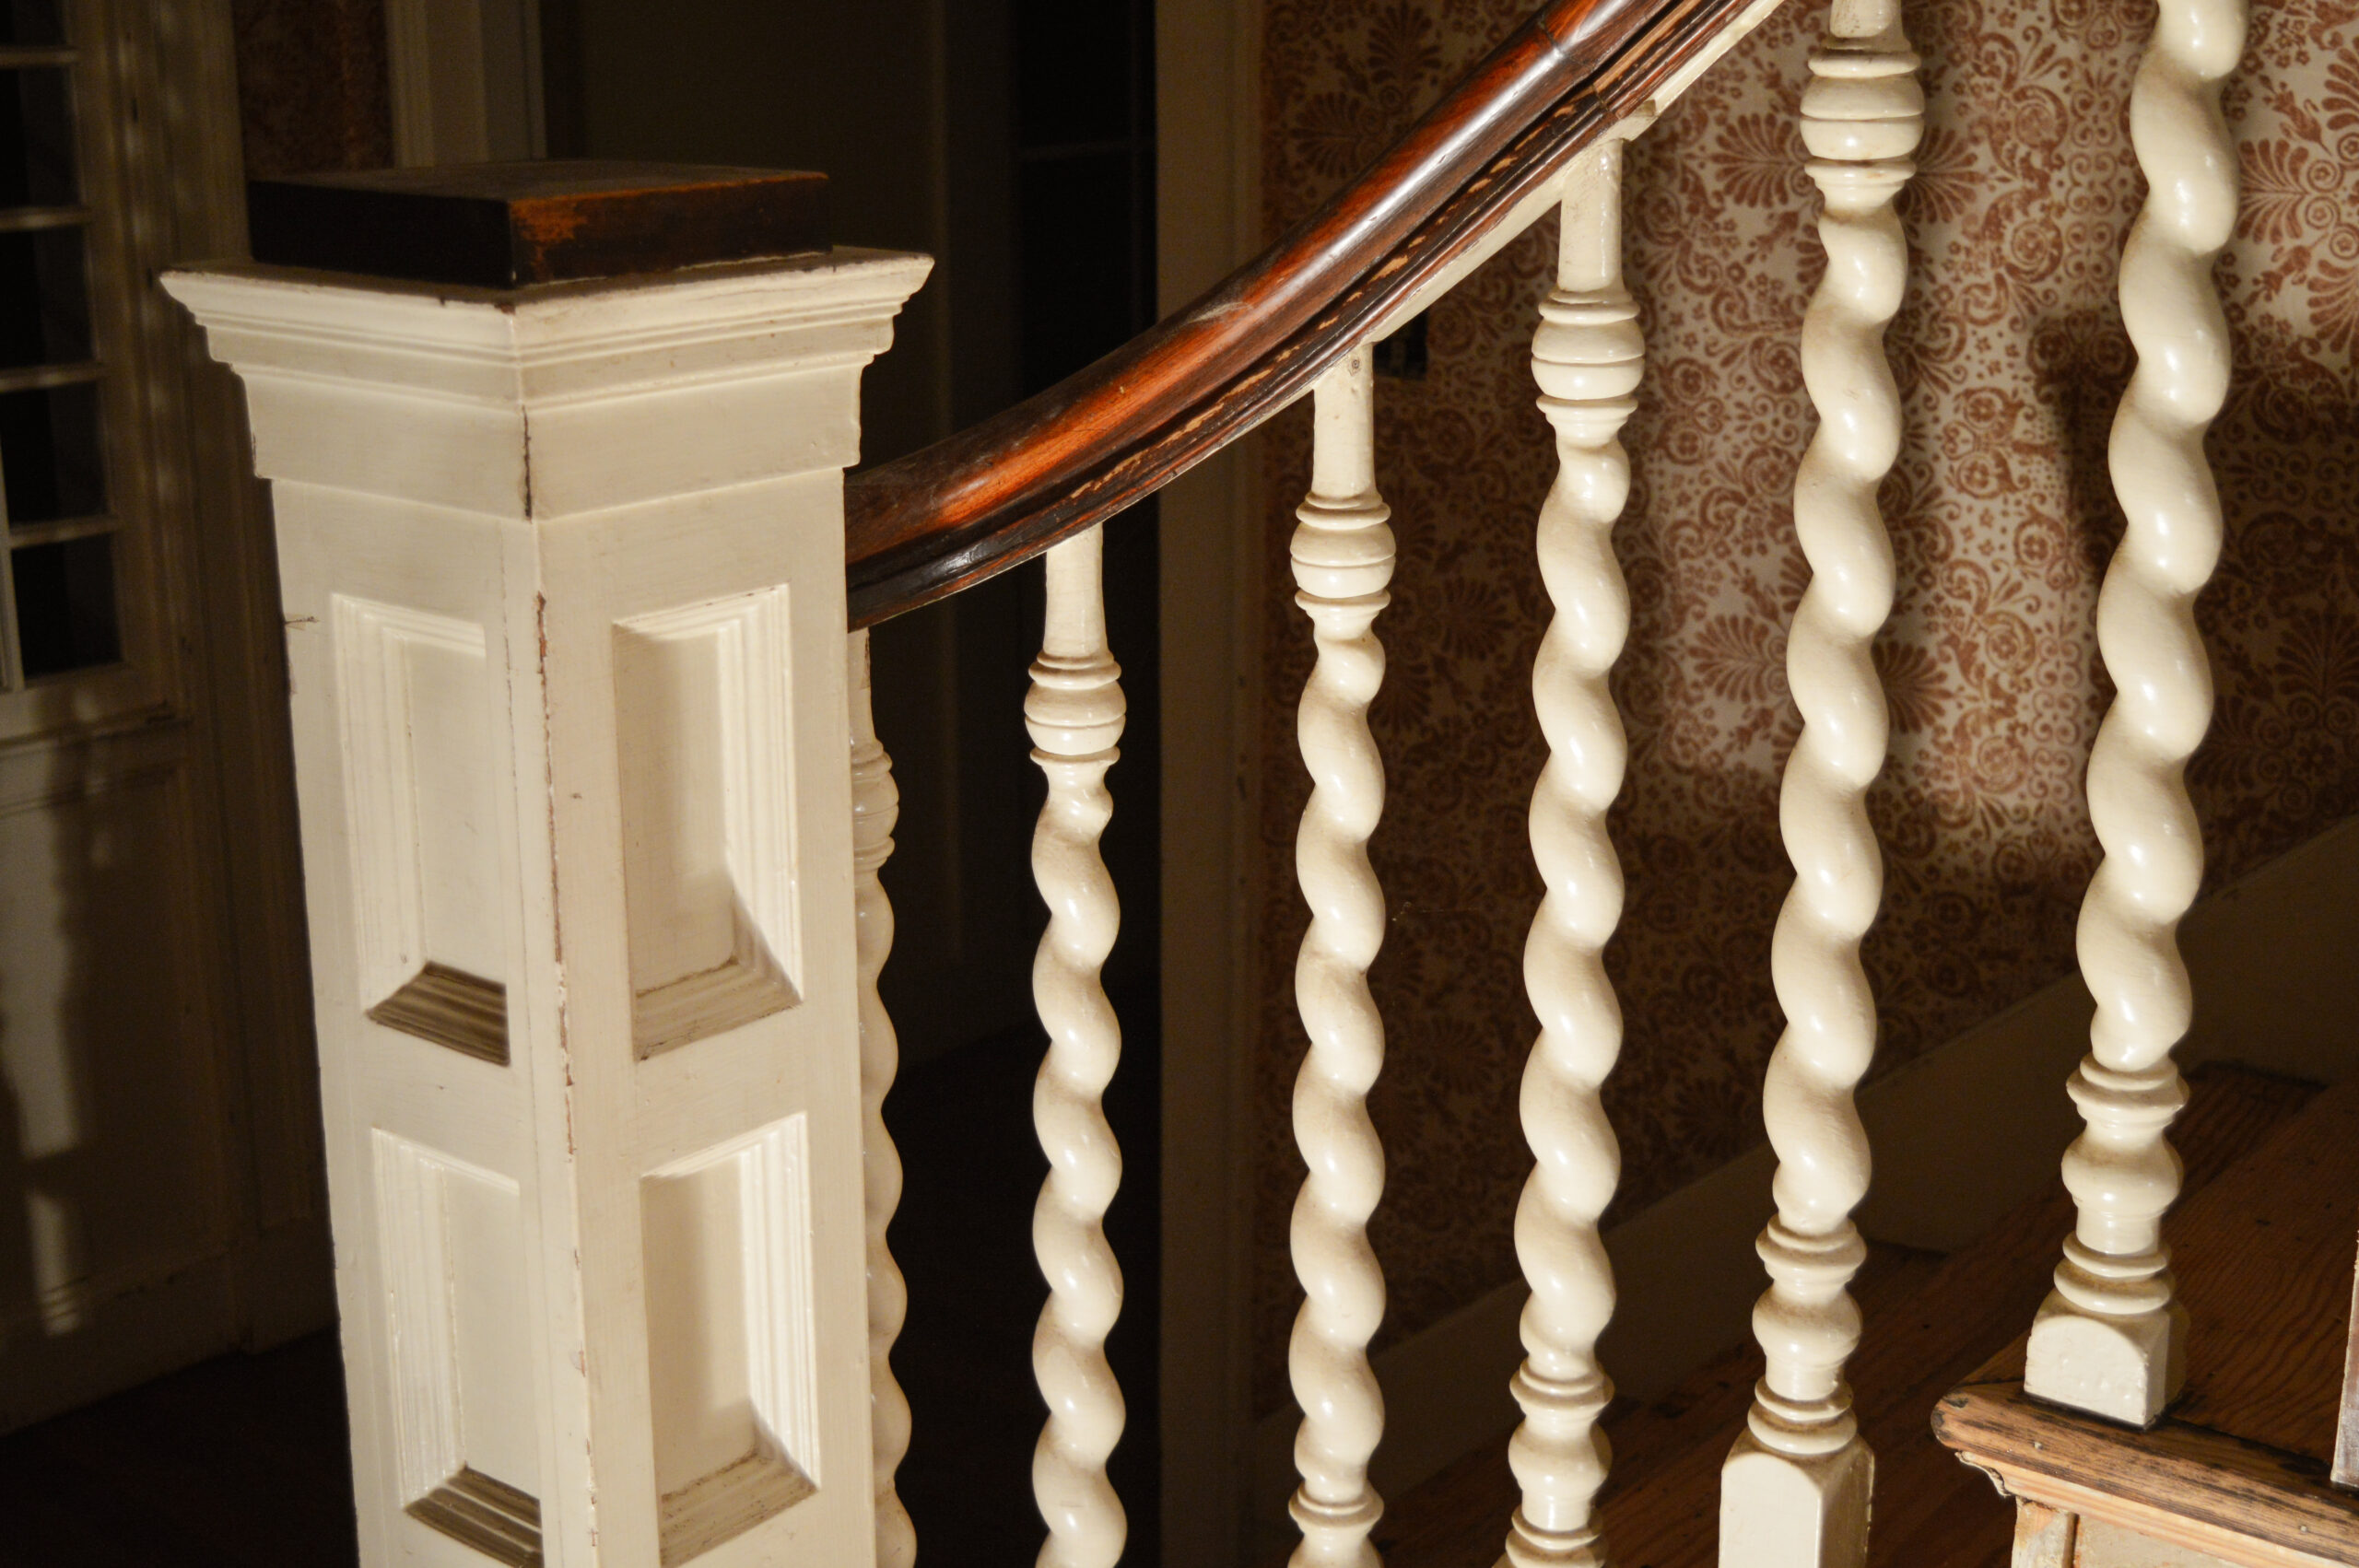
Do the Barley Twist
Our spindles are what gets everyone talking – they are twists of perfection. Barley twists of perfection, to be specific. Prior to owning this house, I wouldn’t be able to tell you what that was, maybe a donut at Dunkin’? But obviously now owning something so beautiful, I needed to learn more about it. I learned that the barley twist was very popular in the 15th & 16th century. It also had a revival in the 18th & 19th century so this could mean that it’s original to our home. Prior to starting the restoration we weren’t too sure, but we came across some clues when we started paint removal.
Go Bare, Everywhere
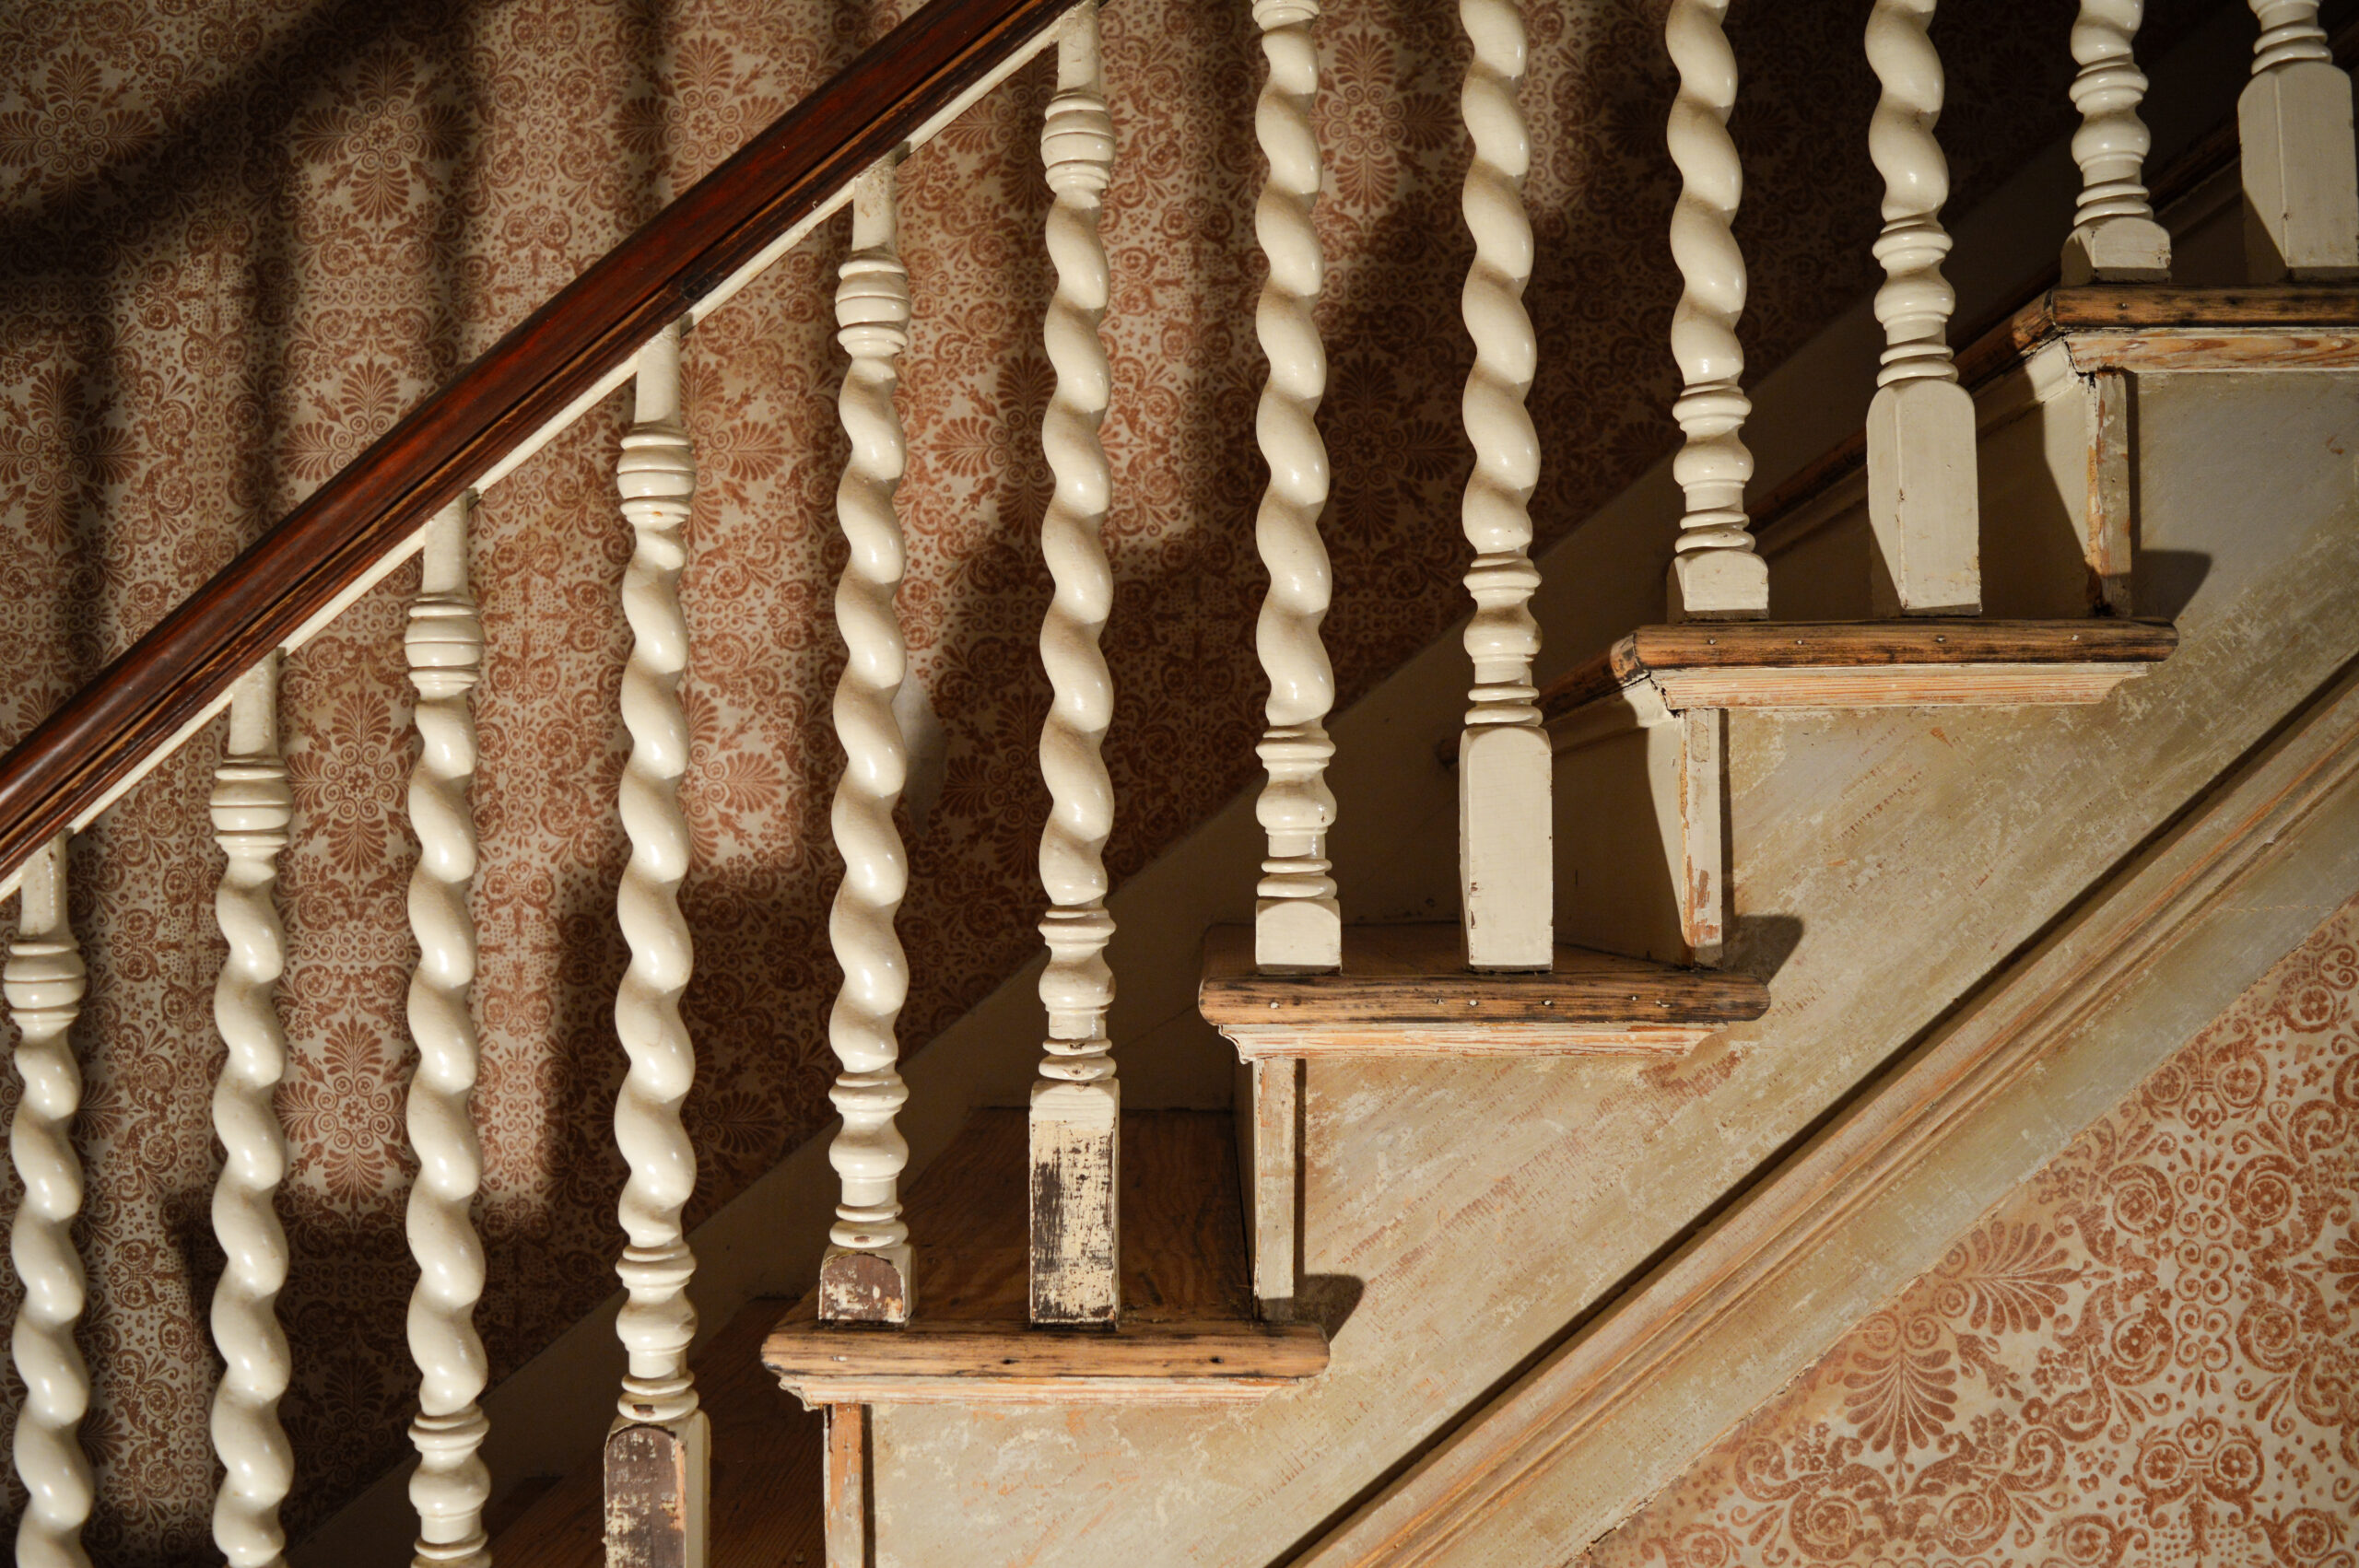
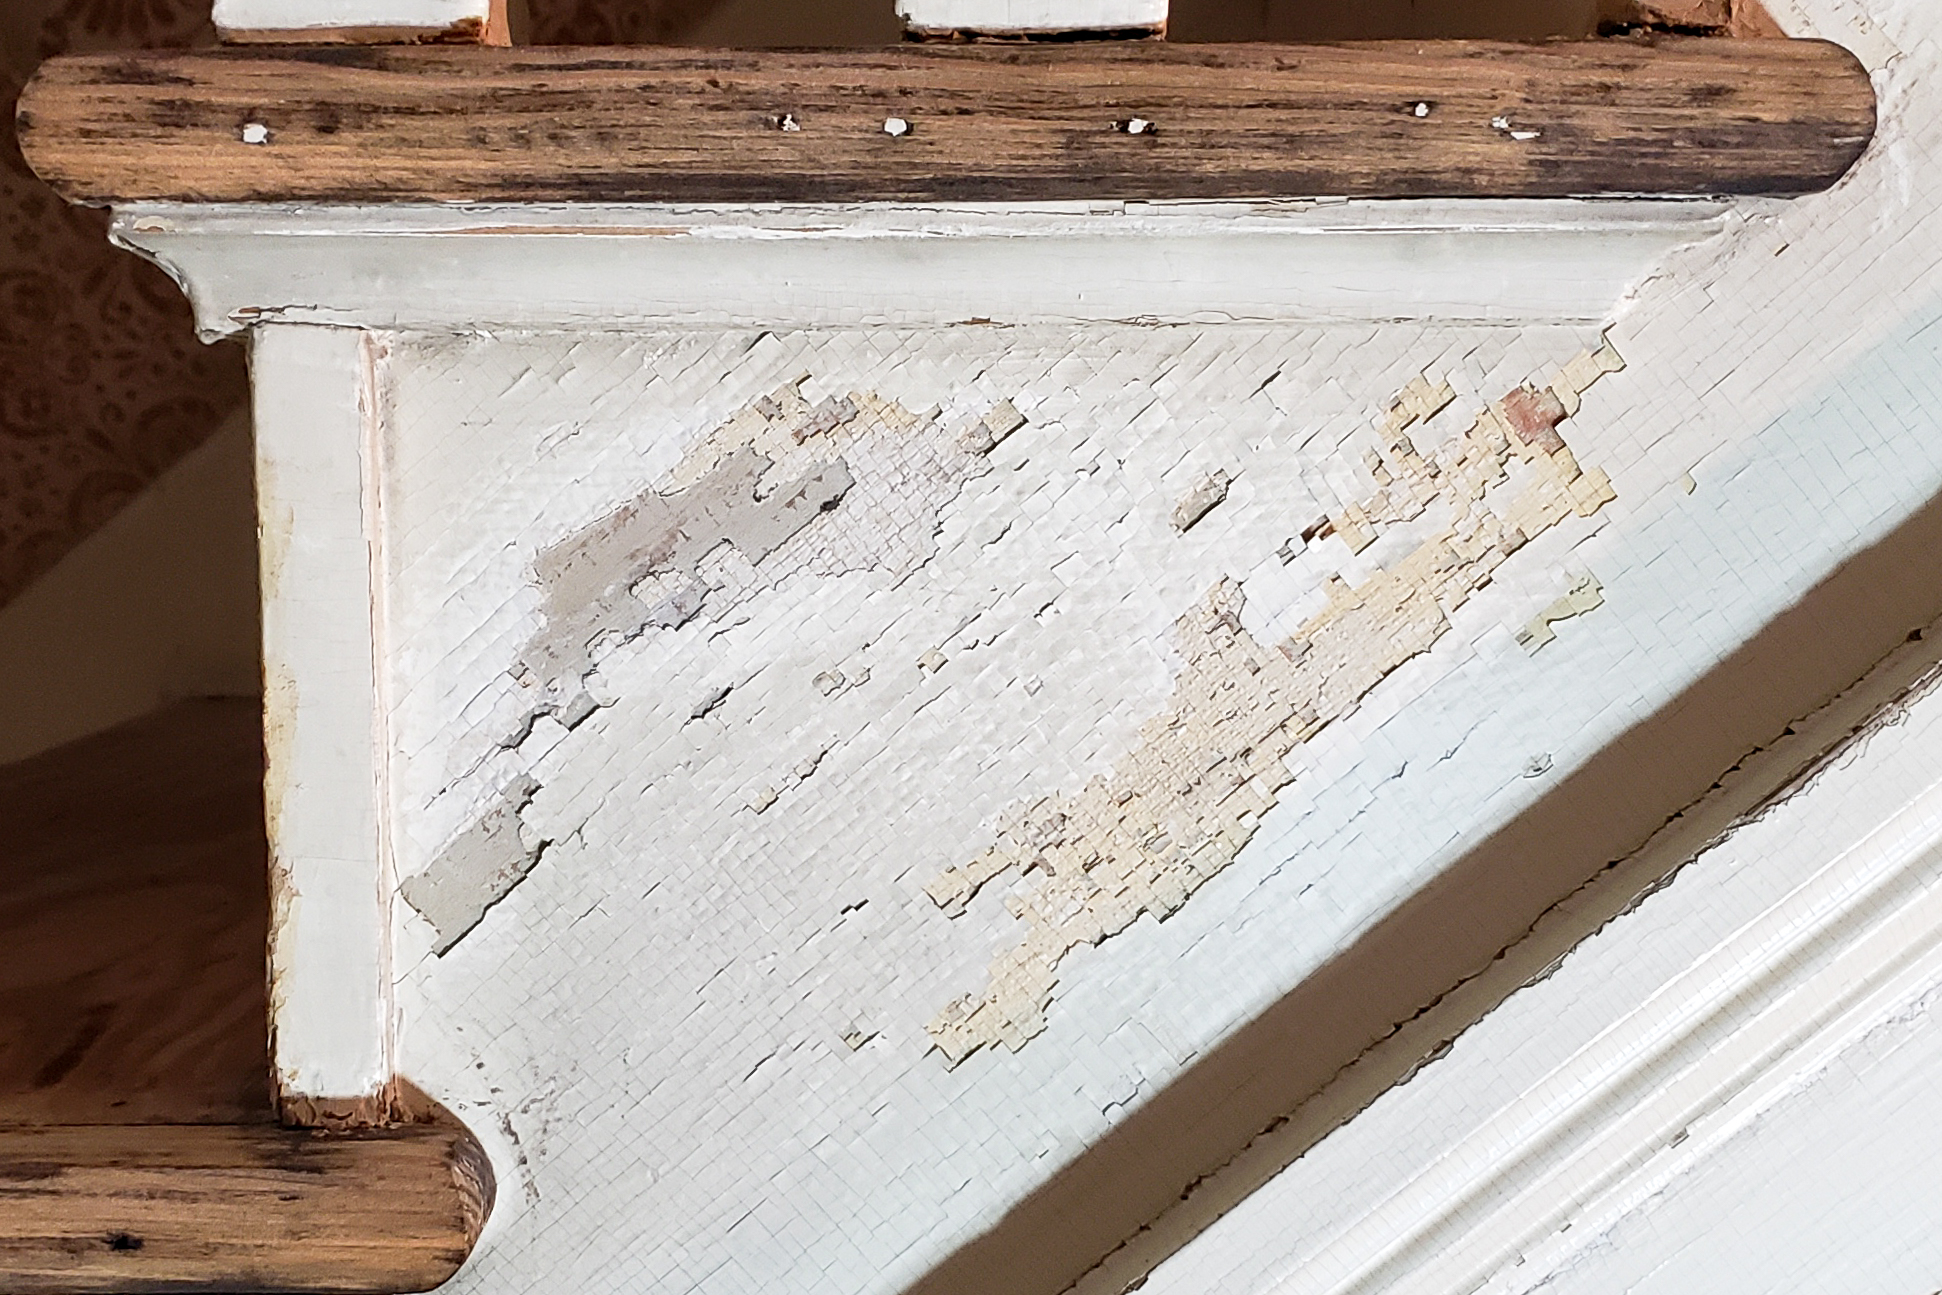
Seth sanded the hardwood floors throughout our 3,500 square foot house when we first closed back in 2021. During that time he sanded down the stair treads. Because we knew there was a lot more to be done with the staircase, he didn’t stain or poly them at the same time as the rest of the floors. The stair treads are bare and he’s now moving on to tackling the layers and layers and layers of paint that plague the stringers, newel posts, spindles and risers.
The house was built circa 1780 so you probably know where I’m going next. Is it lead paint? Yes – Well – I didn’t test it, but we have many reasons to believe that it is lead paint. For paint removal we’re doing our best to take any and all precautions to protect our health. That obviously means you never want to create lead dust or lead paint chips – especially if there are children in the home – or lead vapors.
Paint Stripping Methods
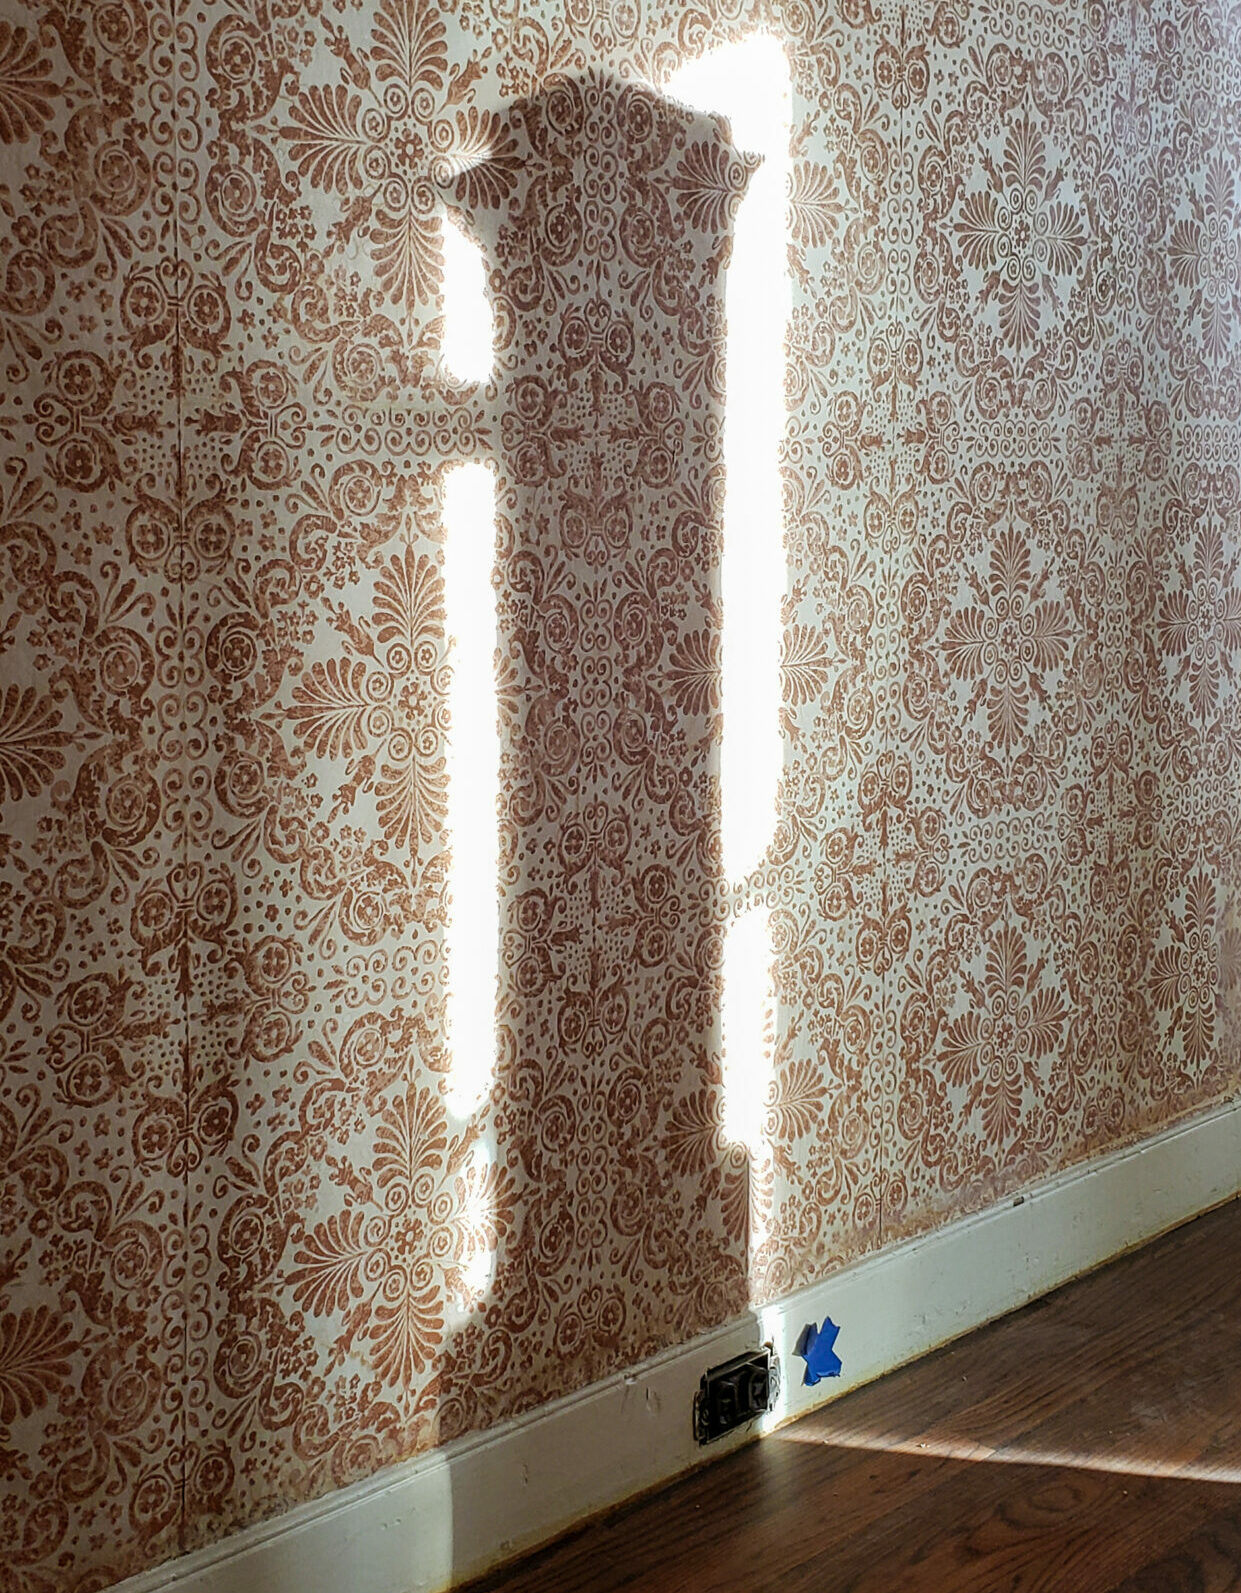
We’ve done many songs and dances for paint removal after a year and a half of owning Just Another House so we have some experience up our sleeves. Regular paint strippers from Lowes, Smart Strip, Peel Away 1, Citristrip and a heat gun are all methods that we’ve tried. Smart Strip and Peel Away 1 worked really well for doors and windows, and I honestly would recommend using those products, but they do tend to be messy. Because we want to keep the wallpaper in this entry intact and clean, we’re opting to use a heat gun. Plus, its winter, we don’t mind the extra warmth.
View this post on Instagram
Lead Paint Removal Tools
Seth started with the heat gun and so far has been working pretty quickly with it even in the detailed areas. We are pretty pleased with the results so far, so we figure it’s worth sharing what we’re using. These are the tools that Seth used during the process:
-
Wagner FURNO 700 Digital Heat Gun
- This particular heat gun is important because it allows you to manually set it’s temperature. When working with lead paint you don’t want it to get heated up above a certain temperature otherwise it could vaporize. You do not want to be breathing in lead paint vapors. We set our temperature gun to 640 degrees and have had pretty good success there.
-
3M Safety Reusable Full Face Mask Respirator
- While heating up the paint Seth has been wearing a respirator just in case the paint does vaporize unintentionally
-
- For the more detailed areas of the trim, newel post and barley twist spindles the contour scraper has come in clutch. Its many different blades have exactly what you need for any situation. These have been a life saver for a lot of projects.
What We Discovered
There is a lot more work to be put into this project. The day I’m writing this, so far, Seth has removed the majority of paint from the stringer and has started on the bottom of the newel and bottom curved risers. He’s also exposed one half of a barley twist spindle to see what it looks like. While doing this he discovered something. The nails that were used to secure the spindle to the handrail were your typical, manufactured, finishing nails. This leads us to believe these spindles may not be original to the house. Which, is kind of a bummer, unless they were maybe reattached…
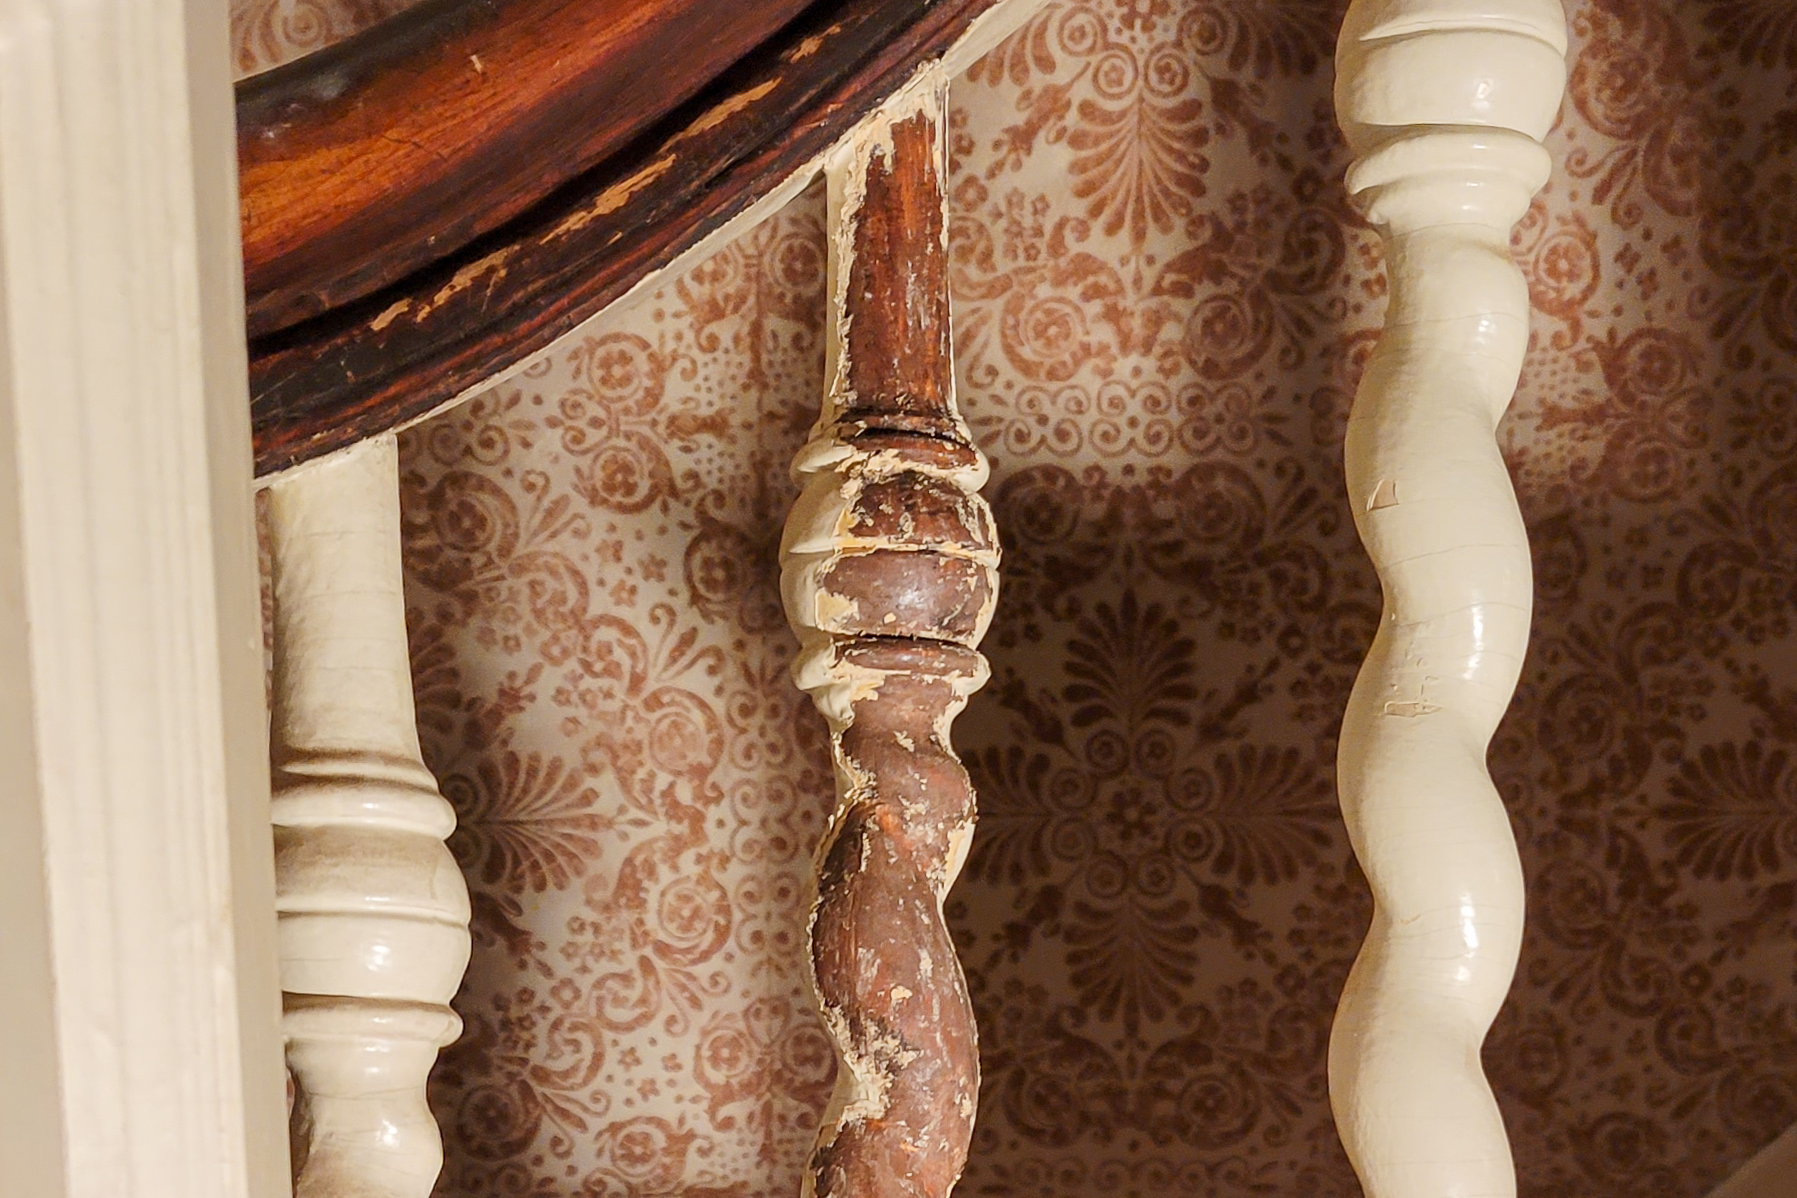
After this discovery our minds went immediately to the professional wood carver, Greg, who lived and worked in our house in the early-to-mid 1900s. It could be that he took on the staircase project to reproduce spindles that would’ve been made when the house was built.
The idea of this satisfies our brains – but who knows, maybe there is more to discover and more to Google. What do you think?
I’ll be doing a deep dive into Greg one day; he seemed to be a very esteemed woodcarver and his work still stands in very prominent churches nearby. We’re very curious about him, his work and his life and would love to share what we learn about him!
For now, we need to restore this staircase. It’s begging for us.